3.18 Prototype Day: Building Version 1
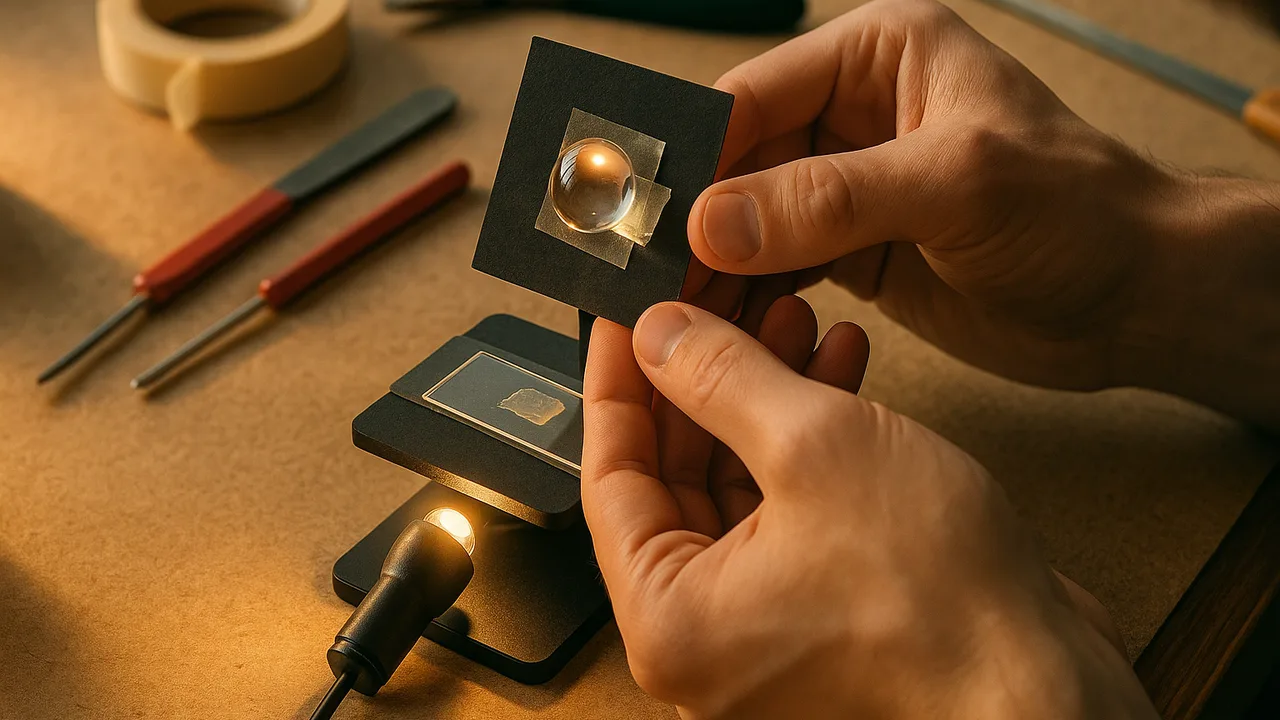
build version 1 of our station and use a light-ray model to explain how its lens, light source and materials work together to make an image.
- I can use my model to describe how waves can be reflected, absorbed, or transmitted when they hit different materials.
- I can explain that light travels in straight lines but bends when it passes from one material to another.
- I can describe that light can travel through empty space, but mechanical waves need a material to move through.
- I can use my model to explain why certain materials are chosen for specific uses, like mirrors, lenses, sound barriers, or light filters.
- I can explain how the tools I use in my investigation show that science depends on engineering advances.
Phase 4: Build
Warm-Up ~5 min
Do Now. Hold a clear glass of water in front of a pencil. Why does the pencil look broken or wider where the water is?
What happens to light when it passes from air into water or glass at an angle?
Instruction ~10 min
Today you build. Every team builds version 1 of the design it chose in 3.16. Before you build, you need a model of how light moves through the station.
The light path. Light leaves the source (a flashlight or phone light under the slide). Some is transmitted through the thin specimen. Some is absorbed by darker parts, like a stained nucleus, which is why they look dark. Light that passes through then enters the lens and bends. The camera catches the bent rays and records a larger image. Shiny surfaces can reflect light into the lens and cause glare.
Worked example 1: choosing materials (structure and function). The slide is clear glass because it must transmit light. The stage under the slide is clear plastic for the same reason. The phone holder is black or dark, because dark materials absorb stray light instead of reflecting glare into the lens. A white card under a lamp can reflect light up through the slide when there is no light below.
Worked example 2: measuring magnification (sample data). Priya’s team photographs a clear ruler through their lens. On the screen, the space between two 1 mm marks measures 30 mm. Magnification on screen = image size ÷ real size = 30 mm ÷ 1 mm = 30×. Without the lens, the marks were 2 mm apart on screen, so the lens made the image 15 times larger. That is far short of our 100× criterion, so her team now knows what to improve.
Science depends on engineering. Before lenses were good enough, no one had ever seen a cell. Better lenses and cameras keep letting scientists see smaller things. Your station is a small part of that story.
| Build step | Done? | Problem we hit | How we fixed it |
|---|---|---|---|
| Lens fixed over the camera | |||
| Light source under the slide | |||
| Steady phone holder | |||
| Ruler photo for magnification | |||
| Running cost total |
Guided Exercises ~15 min
Build in short rounds. After each round, answer the next block and fill in the build log.
Independent Practice ~10 min
Record your prototype.
Take a ruler photo through your lens and calculate the magnification. Show your division.
Explain why we need a lens at all to study cells, and how a better lens could let scientists discover something new.
Closure ~5 min
Version 1 exists. Next class we test it with real cells.
Exit ticket: name one material in your station and explain how it transmits, absorbs or reflects light to do its job.
How confident are you that you can I can explain why certain materials are chosen for lenses, holders and stages.
Teacher notes
Materials: clip-on phone lenses, droppers, clear plastic sheets or lids, small flashlights, glass slides and cover slips, clear rulers, black card, tape, binder clips, craft sticks, one school microscope and adapter if available, the class price list.
Setup: teams may use their own phones only with family permission; otherwise use class tablets. Keep a station for teams without a device. Specimens are not needed yet; the ruler is today’s test object.
Listen for: “the lens adds light” (it only bends light that is already there); magnification calculated upside down.
Support / stretch: give a pre-drawn light path to label. Stretch: compare magnification of a large and a small water drop.