1.18 Prototype Day: Building Warmer Version 1
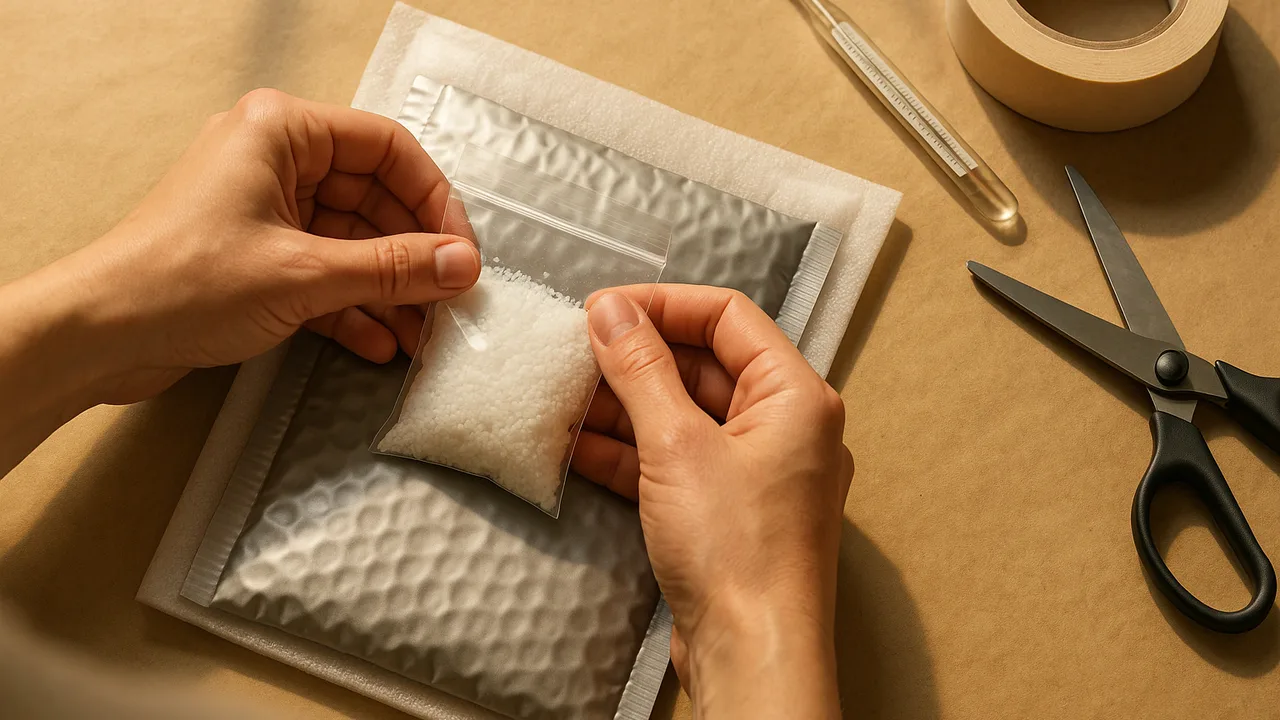
build a first warmer that releases thermal energy from calcium chloride dissolving in a sealed inner bag, and explain how energy moves through the system.
- I can identify the parts of my device and the system that will transfer energy to solve a heating or cooling problem.
- I can choose and explain which chemical reaction and substances my device will use to release or absorb thermal energy.
- I can describe how I will track the transfer of thermal energy between my device and other parts of the system to solve the problem.
- I can describe the features of the problem my device needs to solve.
- I can explain how my device will absorb or release thermal energy using a chemical reaction.
- I can describe the limits for my device, such as how much material I can use, how much it costs, how safe it is, and how long it needs to work.
Phase 4: Build
Warm-Up ~5 min
Do Now. Write the three safety rules you think matter most when you handle calcium chloride. Compare with a partner.
Why does the calcium chloride go in a sealed INNER bag?
Instruction ~10 min
Engineers, today you build version 1. A prototype is a first working model. It is supposed to have problems; testing finds them.
How the pack works. When calcium chloride dissolves, its particles separate and attach to water particles. That releases thermal energy, so the solution gets hot. Thermal energy then flows from the hot pack, through the bag walls, into the cooler meal. Some also escapes into the air, which is energy we lose.
The build steps. 1. Goggles on. 2. Measure your team’s amount of calcium chloride into a small zip bag with a scoop. 3. Measure water into a second small bag and seal it. 4. Place both small bags inside a larger zip bag and seal it: this is your inner pack. 5. Put the pack next to the meal bag in your design. Nothing is mixed today except in the planned test.
Worked example 1: choosing an amount. In Investigate, Priya’s team saw a pattern in sample data: 10 g of calcium chloride in 50 mL of water warmed it by about 15 °C, and 20 g warmed it by about 30 °C. Double the amount, about double the rise. To heat a 100 g meal through a bag wall, they use the full 20 g allowed and plan to adjust the sleeve, not the amount.
Worked example 2: tracking the energy. Kofi draws arrows on his sketch: a big arrow from pack to meal, a small arrow from pack to air, and a small arrow from meal to air. “Our job is to make the first arrow big and the others small.” That energy map guides every design choice.
| Part | Material | Mass (g) | Job in the system |
|---|---|---|---|
| Calcium chloride | |||
| Water for the pack | |||
| Inner bags | |||
| Meal bag (100 g water) | |||
| Sleeve or wrap | |||
| Total |
Guided Exercises ~15 min
Answer these as you build, one block per build step.
Independent Practice ~10 min
Record your build.
Fill in the parts table with your masses. Is your heater material 20 g or less? Which part adds the most mass, and does it need to?
Draw an energy map of your warmer with arrows. Explain how your design makes energy flow into the meal and limits what escapes.
Closure ~5 min
Version 1 is built. Next class we activate it and measure how much, how fast and how hot.
Exit ticket: explain in two sentences how your warmer releases thermal energy and how that energy reaches the meal.
How confident are you that you can I can explain how my device will release thermal energy using a chemical process.
Teacher notes
Materials: goggles for everyone, gloves if available, calcium chloride (test your supply first: pellets and flakes can release different amounts of energy), small and large zip bags, scoops, graduated cylinders, a scale, felt, foam, bubble wrap, tape, paper towels, a towel per table.
Setup: pre-measure calcium chloride for teams that need it. Set a class maximum amount after you test your supply. Keep a wash station or sink ready. Collect unused calcium chloride at the end.
Listen for: “the bag makes the heat”; “cold flows out of the meal.”
Support / stretch: give a pre-labeled parts table. Stretch: predict the meal’s temperature at 5, 10 and 20 minutes before testing.