1.18 Prototype Day: Building Version 1
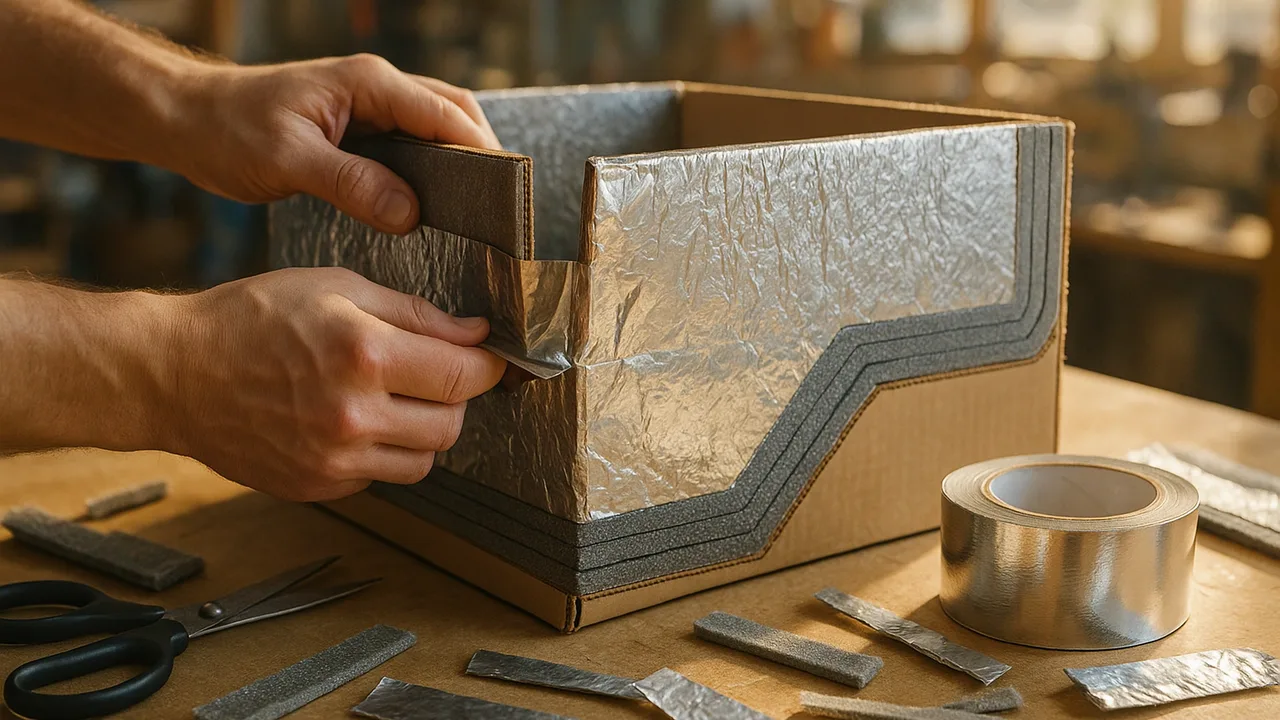
build version 1 of our cooler from the chosen design and model the particles inside and outside its walls.
- I can create a model that shows particles and how they move in a pure substance.
- I can identify and show the system where the particles are contained, including the temperature, thermal energy, and average kinetic energy.
- I can use my model to show a pure substance as a solid, liquid, or gas.
- I can use my model to explain how the motion of particles is related to their kinetic energy and the temperature of the system.
- I can describe how adding or removing thermal energy changes the kinetic energy of particles and can cause a change in state.
- I can use my model to show how the state of matter (solid, liquid, gas) is connected to how particles move and interact.
- I can explain how each design solution could solve the problem.
Phase 4: Build
Warm-Up ~5 min
Do Now. Picture the air just outside your cooler on a warm bus, and the cold air just inside. Draw five particles for each.
Compared with the cold air inside the cooler, the particles of the warm air outside are…
Instruction ~10 min
Design engineers, today you build. A prototype is a working first version for testing. It does not have to be pretty. It has to follow your chosen design so the test tells you something.
Build order. 1. Cut and fit the outer shell. 2. Add the insulation layer with no gaps. 3. Add any lining, like foil. 4. Make a lid that closes snugly. 5. Poke one small hole in the lid for the thermometer probe and seal it with tape.
Model the system. Your cooler is a system. Inside are the ice bag, the lunch bottle and cold air. Outside is the warm room. The walls are the boundary. Draw particles in each part, with motion lines to show speed.
Worked example 1: Jamal’s particle model. Outside air: particles far apart with long motion lines. Ice: particles packed in a repeating pattern, vibrating in place with tiny lines. Lunch water: particles close together, sliding past each other with short lines. Foam wall: trapped air pockets. He labeled each part solid, liquid or gas, and wrote the temperature: about 25 °C outside and 0 °C at the ice.
Worked example 2: explaining the design with the model. Jamal wrote: “Fast outside particles hit the wall and pass energy to its particles. The trapped air pockets have few particles, so energy passes slowly. Less thermal energy reaches the ice, so it melts more slowly.” His model explains how his design solves the problem.
| Build step | Done? | Problem we hit | How we fixed it |
|---|---|---|---|
| Outer shell | |||
| Insulation, no gaps | |||
| Lining | |||
| Snug lid | |||
| Probe hole sealed | |||
| Total cost |
Guided Exercises ~15 min
Answer these between build steps. Keep your model next to your build.
Independent Practice ~10 min
Finish your build log and model.
Draw a labeled particle model of your cooler system: outside air, wall, ice and lunch water. Label each state and show particle speed with motion lines.
Use your model to explain how your design slows thermal energy on its way to the ice.
Closure ~5 min
Version 1 is built. Next class it faces its first heat test, with a thermometer and a data log.
Exit ticket: what is the weakest spot in your prototype? Predict how it will show up in the test data.
How confident are you that you can I can model the particles in a system and explain how they move.
Teacher notes
Materials (per team): materials bought from the price list, tape, scissors, rulers, cutting mat, one digital probe thermometer, build log.
Setup: run a “store” where teams buy materials with their $5 budget. Give 30 minutes to build. Collect unfinished coolers labeled with team names.
Listen for: “cold particles don’t move” (all particles move; colder means slower on average); confusing heat with temperature.
Support / stretch: give a pre-printed system outline to fill with particles. Stretch: add the lid seal to the model and show what happens when it is opened.