4.08 Core Samples: Digging Into Rock Layers
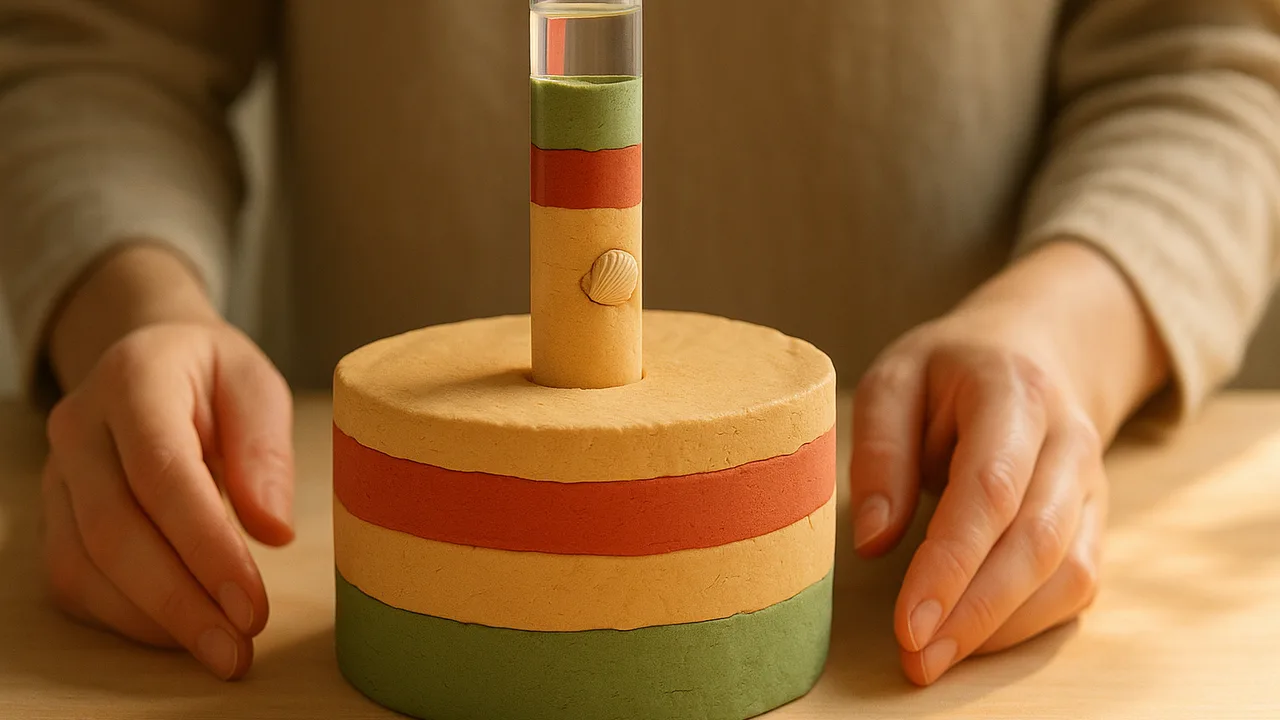
take core samples from a layer model, record the order of the layers and the fossils in each, and look for patterns.
- I can identify patterns in rock layers found in an area, like how some layers have different types of fossils.
- I can tell the order of rock layers, such as which layer is above or below another.
- I can recognize what kinds of fossils are found in certain rock layers.
- I can point out which parts of my explanation about landscape changes I need to support with evidence.
Phase 2: Investigate
Warm-Up ~5 min
Do Now. Look at the shake jar your teacher made yesterday: soil, sand, pebbles and water, shaken and left overnight. Draw the layers you see.
Your teacher pours a new spoon of sand into the jar today. Where will the new sand end up?
Instruction ~10 min
Junior geologists, you are on a dig! Your teacher built a secret layer model in a cup. Each layer is a different color of sand, soil or clay. Some layers hide “fossils” such as pasta shells, leaf prints or little shell pieces. You cannot see inside, so you will take a core sample.
How to take a core. Push a clear straw straight down to the bottom of the cup. Put your finger over the top. Pull the straw out slowly. Now you can see the layers inside the straw. Take two cores from different spots.
Worked example 1: recording a core. Ava’s core shows four layers. From the bottom up: gray clay with shell pieces, black soil with leaf prints, tan sand with no fossils, and brown soil on top. She draws the core and labels each layer. She writes “bottom” and “top” so no one gets confused.
Worked example 2: comparing cores. Jamal’s two cores have the same layers in the same order. That is a pattern. It suggests the layers spread across the whole cup. If one core were missing a layer, he would ask why.
A real fossil to know. Trilobites were ancient sea animals whose fossils are found in many places. A trilobite was a small sea animal with a hard shell and many legs. One card on your table shows a drawing of one. Where would a fossil like that be found in your cup?
Your job today is to observe and record. Think about which layer came first, but we will explain it together later.
Guided Exercises ~15 min
Take two cores. Record the layers from the BOTTOM up.
| Layer (bottom = 1) | Core 1: what it looks like | Core 1: fossils? | Core 2: what it looks like | Core 2: fossils? |
|---|---|---|---|---|
| 1 (bottom) | ||||
| 2 | ||||
| 3 | ||||
| 4 (top) |
Independent Practice ~10 min
Draw and think.
Draw one of your cores and label every layer and fossil. Then write one question the core makes you wonder about.
Closure ~5 min
You read hidden layers like a geologist. In the Make Sense phase, we will explain what layers and fossils tell us about the past. Next lesson, we read maps.
Exit ticket: describe the order of the layers in one core, from bottom to top. Which layers had fossils?
Teacher notes
Materials (per team): one opaque cup (paper or colored plastic) with 4 layers of different-colored sand, soil, clay or play dough; dry pasta shells, small shell pieces and pressed leaves as “fossils”; 2 clear wide straws (smoothie straws) per student; a trilobite picture card; the shake jar from the day before.
Setup: Build cups the day before. Pack each layer firmly. Put shell “fossils” in the bottom layer and leaf prints in the second layer to set up the sea-then-swamp story used in 4.11.
Listen for: students who read the core top-down and call the top layer “layer 1.” Do not teach the oldest-at-bottom rule yet; ask students to reason from the shake jar.
Support / stretch: Give a pre-drawn core outline. Stretch: build one cup with a tilted or missing layer and ask what could explain it.