2.10 Naming the Parts of a Wave
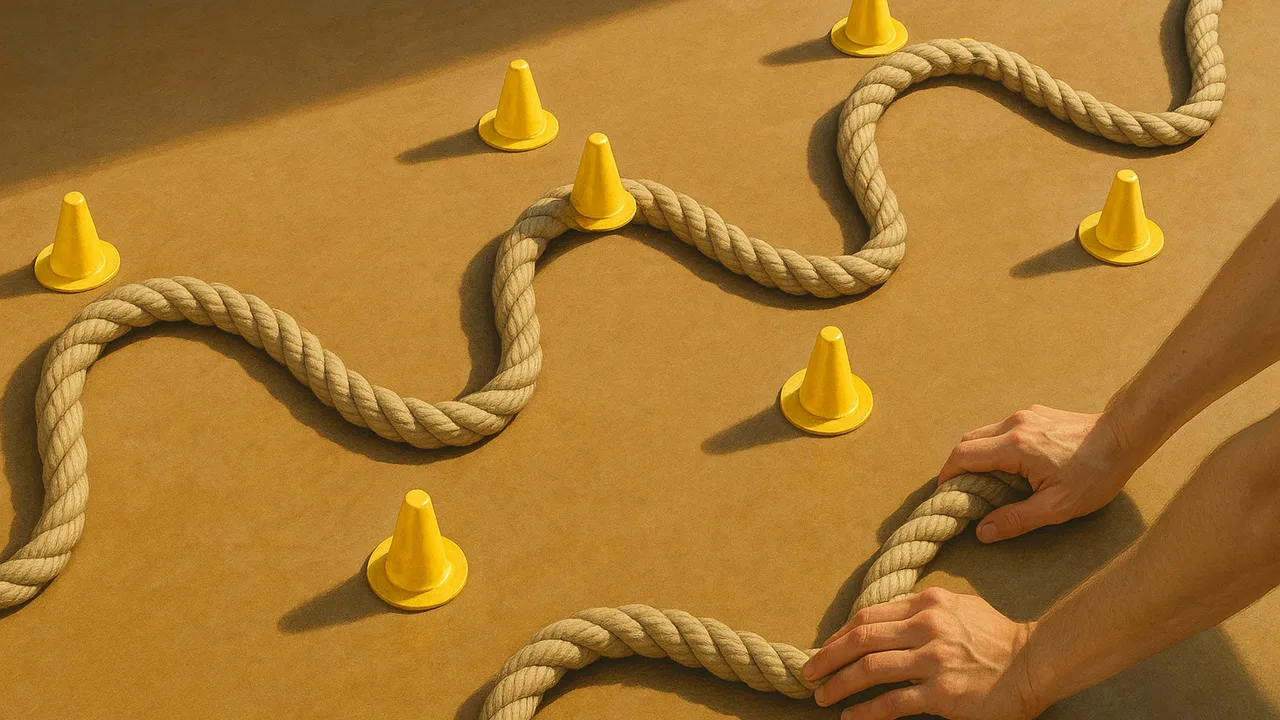
build a labeled wave model that shows crest, trough, amplitude and wavelength, and explain how a wave starts and travels.
- I can make a model to show what a wave is and how it works.
- I can point out the parts of a wave in my model, like amplitude and wavelength.
- I can show in my model how waves can make things move.
- I can use my model to show how a wave moves and how it makes an object move as it passes.
- I can explain how a wave starts, like by shaking a rope or disturbing water.
- I can show the repeating pattern that happens when a wave travels.
Phase 3: Make Sense
Warm-Up ~5 min
Look back. Open your notebook to your slinky and rope tables. Find the row where the bumps were tallest. What did your hand do to make them?
What did your hand do to make the tallest bumps? What did it do to make the bumps close together?
Instruction ~10 min
Reading: the shape of a wave. Every wave starts with a disturbance. A pebble pushes the water down. A hand shakes a rope. Then the disturbance travels away from where it began. The bumps repeat, one after another, in a pattern.
Scientists use special words for wave parts. The high point of a wave is the crest. The low point is the trough. The flat middle line is the resting line, where the rope lies when nobody shakes it.
Amplitude is how far the wave moves up or down from the resting line. A big shake made a big amplitude. Wavelength is the distance from one crest to the next crest. Fast shakes made a short wavelength, because the bumps were close together.
Worked example 1: labeling a drawing. Ava draws a rope wave with three bumps. She draws a dashed resting line through the middle. She writes “crest” at a top and “trough” at a bottom. She draws an arrow from the resting line up to a crest and labels it “amplitude.” She draws a bracket from one crest to the next and labels it “wavelength.”
Worked example 2: a pipe cleaner model. Jamal bends a pipe cleaner into a wavy shape and tapes it on a card. He tapes a straight yarn piece for the resting line. He adds a paper dot on one crest as an “object.” His model shows the parts and where an object rides on the wave.
Worked example 3: a common mistake. Diego measured amplitude from the trough all the way up to the crest. That is too big. Amplitude goes from the resting line to the crest, only halfway.
Guided Exercises ~15 min
Use the new words with your team. Then build your models.
Independent Practice ~10 min
Check your model on your own.
Explain your model to a partner in writing: how did this wave start, and how does it move along the rope?
How confident are you that you can I can point out the parts of a wave in my model.
Closure ~5 min
Now our wave parts have names. Next lesson, we use our models to explain how waves move objects.
Exit ticket: draw a wave with a big amplitude and a short wavelength. Label both.
Teacher notes
Materials: notebooks with Investigate data, pipe cleaners, yarn, index cards, tape, markers, a slinky for a quick demo.
Setup: draw a large wave on the board with the resting line, and label crest, trough, amplitude and wavelength together as a class.
Listen for: amplitude measured trough to crest; wavelength measured crest to trough (that is only half). Keep it qualitative: no numbers or formulas.
Support / stretch: give a pre-drawn wave with blank labels. Stretch: draw a second wave with the same amplitude but a longer wavelength.