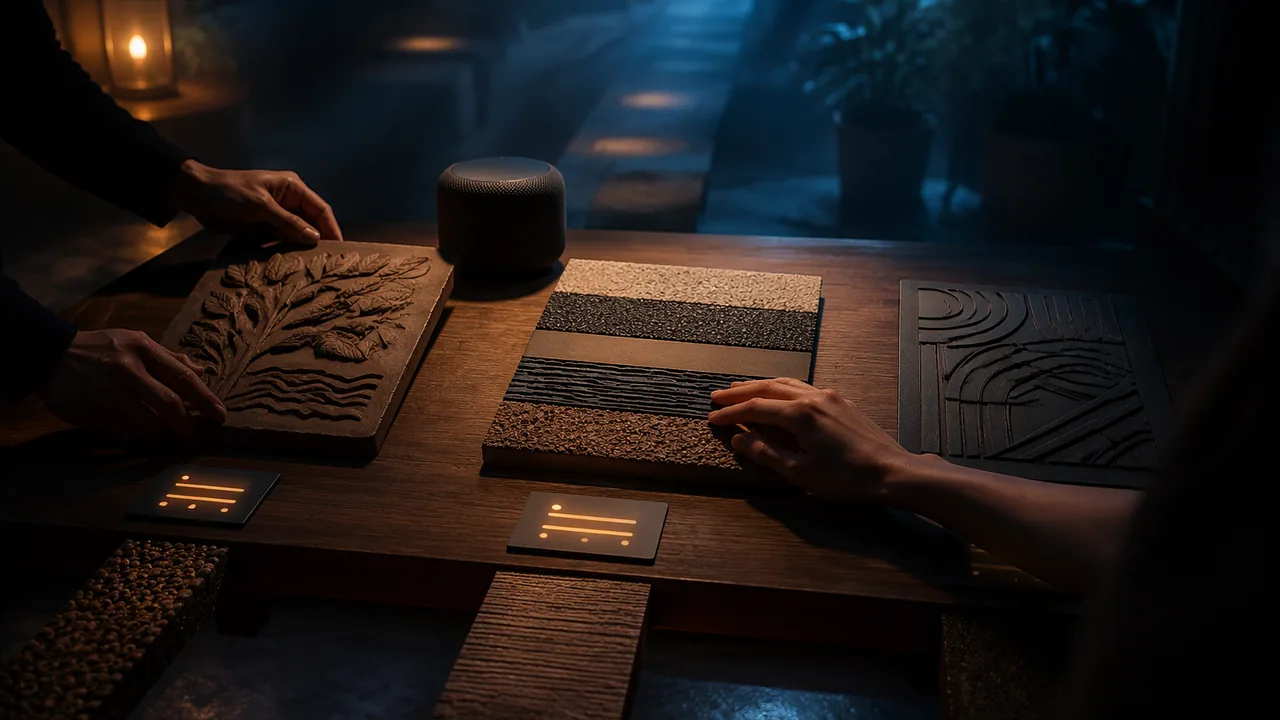
select work from the semester portfolio and plan a small exhibit that can be experienced by touch, sight and hearing, with labels, spoken descriptions and handling instructions.
Instruction
An exhibit is an argument made with objects: these works, in this order, in this space, for these people. Curating means choosing and arranging. In this workshop you plan a small exhibit of your semester’s tactile work that visitors can touch, see and hear. You will set it up at home, on a table in a shared room, for the people in your household and any guests your parents or guardians invite. If you also want to share it online, do so only with a parent’s or guardian’s permission, and show the work, not faces.
Selecting. Choose two or three works from the semester: the clay translation, the texture panel, the medium study, the tactile graphic. Choose work that survives handling (check your wear tests) and that shows growth. Write two sentences on why each was selected. Then choose a theme or order: by unit, by material, or around a question such as “what does a machine image lose, and what can a hand give back?”
The space. Plan for touch. Put works on a table at about waist height, near the front edge, with space between them so hands do not collide. Leave a clear, straight path to the table, with no cables or bags on the floor. Fix works down so they cannot slide, and mark the start of the route with a textured strip or a tactile arrow. Keep lighting even for low-vision visitors, and avoid glare on glossy surfaces.
Labels. Every work needs a label in large print (at least 24-point, bold, high contrast, a plain sans-serif font), placed in the same position beside each work. Include the title, your initials (not your full name if anything is shared online), the materials, the source image credit (tool, prompt, date, or museum and object) and one sentence about the work. If braille labels can be produced by a qualified transcriber, place them in a consistent position too.
Spoken descriptions. Write a 60-90 second description for each work to be recorded and played from a phone or a QR code. A good spoken description tells the listener what they are about to touch and guides the hands: size and shape first, then where to start (“begin at the top left corner, where a smooth ridge runs down”), then the main parts in order, then what the work is about. Describe before you interpret. Speak slowly.
Handling instructions. A card at the start of the route explains: wash or sanitize hands; touch gently with flat fingers; no rings or bracelets on the touching hand; tell the maker about any damage. Visitors who do not want to touch can use the spoken descriptions and photographs.
Every role is yours. A museum splits this work among a curator (theme and order), a designer (layout and labels), a describer (scripts and recording) and a host (welcome and feedback). Here you play each role in turn, and you can write down which decisions belong to which role; a family member can act as host on the day if they are willing. Write a label and a description for every work.
📖 Read for this lesson
The reading opens over the lesson; close it to come back to exactly where you were. The checks below draw on it.
Formative check
Work through these before moving on. They are not graded — they tell you whether the standard below has landed yet.
Which layout choice best supports visitors who read by touch?
A good spoken description starts with the artist’s interpretation before describing the shape and where to begin touching.
Upload your exhibit plan: the theme, the selected works with two-sentence reasons, a layout sketch showing the table, route and start marker, one large-print label and one 60-90 second spoken-description script.
How confident are you that you can plan an exhibit that works for touch, sight and hearing?
Curating a Touchable Exhibit at Home: Access Board Dimensions and a Worked Plan, Label and Script
SLS original technique sheet (worked plan illustrative); dimensions from the 2010 ADA Standards, access-board.gov, retrieved 26 Sept 2026 · SLS original, with figures from U.S. government standards (public domain)
Why this reading. The workshop asks you to plan a small exhibit at home that works for sight, touch and hearing: selected works, layout, large-print labels, spoken descriptions and handling instructions. This reading is the technique sheet, with real dimensions from the U.S. Access Board and a worked plan, label and script. The Access Board’s 2010 ADA Standards (public domain) govern sign, route and surface design in buildings; they do not tell a museum how to design an exhibit, so the numbers are used here as trusted references. The worked plan is SLS original and illustrative. Retrieved 26 September 2026.
Numbers from the 2010 ADA Standards
| Element | Requirement (section) |
|---|---|
| Tabletop height | Tops of dining and work surfaces 28 to 34 inches (710 to 865 mm) above the floor (902.3) |
| Reach | Unobstructed forward reach: no higher than 48 inches (1220 mm), no lower than 15 inches (380 mm) (308.2.1) |
| Space to stand or sit at a table | Clear floor space 30 by 48 inches (760 by 1220 mm) minimum (305.3) |
| Route width | Walking surface clear width 36 inches (915 mm) minimum (403.5.1) |
| Things that stick out | Objects between 27 and 80 inches above the floor protrude no more than 4 inches into the path (307.2) |
| Tactile signs | Raised characters 1/32 inch minimum, uppercase, sans serif, 5/8 to 2 inches high; braille below the text, 3/8 inch from other tactile characters; mounted 48 to 60 inches above the floor (703.2, 703.3, 703.4.1) |
Worked plan (illustrative): “What does a machine image lose, and what can a hand give back?”
Curator: one student, three works, on a table in a shared room at home. Selected works and reasons: the clay translation (it survived the wear test and shows my first touch-test failure); the texture panel (its key works, and it shows growth in readability); the medium study (durable after sealing, shows how far I departed from the source). Order: by unit, so a visitor moves from one clay tile to a mixed-media panel to a painted piece.
Layout (measurements in cm): one table, a household table about 75 cm high (about 29.5 inches, inside the 28–34 inch range; measure yours), with the three works in a row along its front edge, at least 30 cm apart; a clear path to the table at least 92 cm wide (36 inches is 91.5 cm); a stool or chair space in front at least 76 × 122 cm (30 by 48 inches); a textured strip of corrugated card taped at the start of the route; works fixed with removable putty, painter’s tape or hook-and-loop tape; lamps to the side to avoid glare on the glossy piece.
Large-print label (illustrative): 24-point bold sans serif, black on white, top of the card, same place at every table:
HOLLOW WELL
M. Rivera
Impasto paste, glaze, dry brush and seal on board
Source: Théâtre D’opéra Spatial, Jason M. Allen, Midjourney, 2022
A smooth hollow inside a ridged frame.
Spoken description (illustrative; about 130 words, 60–90 seconds read slowly): “You are about to touch a square panel, about the size of a placemat. Start at the top left corner, where a ridged edge runs along the top and down the left side. Follow the ridges around the whole frame; they are combed lines that repeat. Now move inward to the center. You will find a smooth round hollow, about the width of your palm, lower than everything around it. Rest your fingers in it. Below the hollow is a flat strip, and on it five small bumps in a row: these are people. The frame is high, the hollow is deep, and the people are small. The work is about standing in front of a huge light. Its source is an image made by a machine, but every surface here was made by hand.”
Handling card: “Please wash or sanitize your hands. Touch gently with flat fingers. No rings or bracelets on the touching hand. Tell the maker about any damage. You may listen or look instead of touching.”
Roles, all yours: curator (theme and order), designer (layout and labels), describer (scripts and recording), host (welcome and feedback cards; a family member may take this one on the day). Write one label and one description for every work. Sharing online: only with a parent’s or guardian’s permission; use initials, and show the works, not faces.
Sources: U.S. Access Board, 2010 ADA Standards for Accessible Design (access-board.gov)