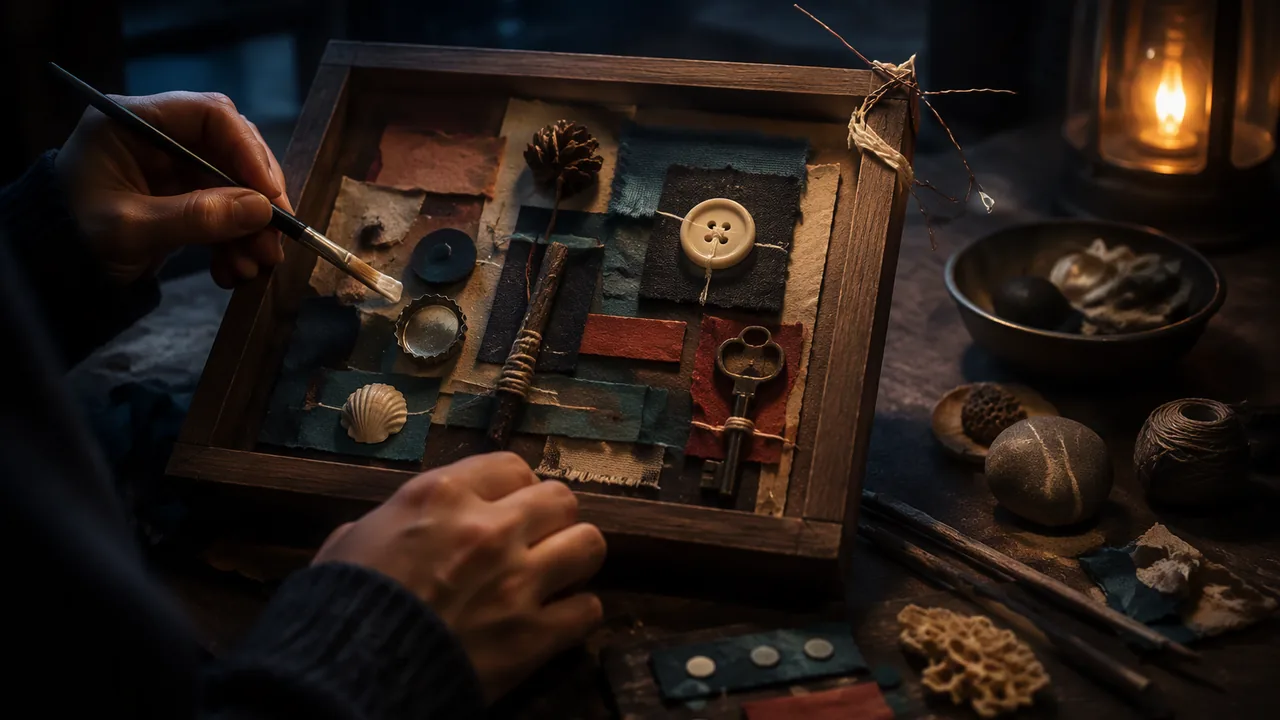
make a collage relief and a small assemblage from clean found materials, using at least four joining methods, and test how the materials’ histories and textures change a work’s meaning.
Instruction
Collage glues flat materials to a surface; assemblage combines three-dimensional objects. Both use materials that already had a life before the artwork — a ticket, a button, a key, a scrap of a school uniform — and that life comes with them. Schwitters knew this. So did the nganga who added materials to a nkisi. In this lab you learn the techniques and test the meanings.
Collecting. Gather clean, safe materials: paper ephemera (tickets, wrappers, maps, old book pages, envelopes), fabric scraps, buttons, bottle caps, keys, wire, natural materials (twigs, seed pods, shells). Note where each came from; that history is information you may use. Do not use personal documents with other people’s names or addresses, medicines, broken glass, rusted metal or anything taken from a place where taking is not allowed.
Collage techniques. Tearing leaves soft, fibrous edges; cutting leaves crisp ones; a hand feels the difference. Layering builds depth: glue larger flat pieces first, then smaller, then raised pieces. Crumpling and flattening paper before gluing creates a fine ridged texture. Use PVA glue, brushed thinly on the back and over the top as a sealer.
Assemblage and joining. Objects need secure joins, especially when the work will be touched. Learn four methods: gluing (PVA for porous materials, a low-temperature glue gun, used with an adult nearby, for non-porous ones), tying (thread or thin wire through holes or around objects), wiring (thin wire twisted tight at the back of a board) and stitching (sewing objects such as buttons onto fabric or card). Each join is visible or hidden by choice. A visible stitch can itself be a symbol — mending, holding together.
The shadow box. Use a shallow box (a shoe-box lid or a small tray) as a frame. Arrange objects inside, move them around before fixing, and use the box’s edges to create compartments or a frame within a frame. A box invites a hand to reach in and explore corners, which makes spatial arrangement matter.
Materials and meaning. Try a quick experiment. Make two small collages with the same composition but different materials: one from new colored paper, one from used paper with a history (an old map, a receipt, a page of a letter you wrote yourself). Show both to a family member or another adult without explanation and record what each seems to be about. If no one is available, put them away for a day, then write what a stranger could say each is about from what is visible alone. Most people read the second as a story. Materials carry associations; you can use them on purpose.
Responsibility. Using found images and materials raises the same questions as AI imagery: whose is it, and does it matter? Using a bus ticket is different from using a photograph someone else took. Note the source of any image you include.
📖 Read for this lesson
The reading opens over the lesson; close it to come back to exactly where you were. The checks below draw on it.
Studio: Collage relief and shadow-box assemblage
Question. How do joining methods and the histories of found materials change what a tactile work means and how it holds up to touch?
Materials
- Clean paper ephemera, fabric scraps and flat found materials
- Small clean objects: buttons, bottle caps, keys, twigs, seed pods, shells
- A shallow box or tray and a card base about 15 × 20 cm
- PVA glue and brushes; optionally a low-temperature glue gun (only with an adult’s permission)
- Thin craft wire, strong thread and a blunt tapestry needle
- Scissors and a hole punch or awl (awl used only with an adult nearby)
- No broken glass, rusted or jagged metal, medicines, batteries or anything with sharp points; ask an adult to check your found materials with you before use.
- Wash natural materials and let them dry; leave out anything that could trigger a nut, latex or plant allergy for you or anyone in your home.
- Use a low-temperature glue gun only with an adult’s permission and an adult nearby; keep fingers clear of the nozzle and hot glue.
- An awl for making holes is used only on a board or cutting mat, pushing away from the body, with an adult nearby.
- Trim wire ends and bend them to the back so nothing sharp can be touched.
Procedure
- Collect and log at least ten found materials: what each is, where it came from and one association it carries.
- Make two small matching collages (10 × 10 cm) with the same composition, one from new paper and one from materials with a history; ask a family member what each is about, or write your own day-later reading.
- Make a collage relief on the card base using tearing, cutting, layering and crumpling, sealed with thin PVA.
- Arrange an assemblage in the shallow box, trying at least three arrangements and photographing each before fixing.
- Fix the objects using all four joining methods: gluing, tying, wiring and stitching.
- Handle-test the assemblage: turn it gently, reach in and touch each object; re-fix anything that moves.
Data
| Material | Source | Association | Joining method | Secure after handle test? |
|---|---|---|---|---|
Matching-collage test: what your reader said each collage was about (or your own day-later reading).
Analysis
- What did your reader say each matching collage was about (or what did your day-later reading find)? What does that show about materials carrying meaning?
- Which joining method was most secure, and which was most expressive? Could one join be both?
- Which found material in your assemblage carries the strongest association, and would you want a viewer to know its source?
If you cannot do this studio in person: No-cost version: use a cereal-box lid or shoe-box as a shadow box and household items that are clean and safe (buttons, bottle caps, packaging, fabric scraps). Photograph each arrangement and the handle test.
Formative check
Work through these before moving on. They are not graded — they tell you whether the standard below has landed yet.
Which joining method would best secure a heavy button to a card base in a work visitors will touch?
Any found object is acceptable in an assemblage as long as it is small.
Upload photos of your matching collages with the readings (a family member’s, or your own day-later reading), your collage relief, your three assemblage arrangements and the fixed assemblage, plus your materials log. Which arrangement did you choose and why?
How confident are you that you can make collage and assemblage with secure joins and materials chosen for meaning?
Collage and Assemblage: Which Join for Which Material, the Matching-Collage Test With a Worked Result, and a Handle Test
SLS original technique sheet with invented, illustrative results · SLS original (technique sheet and constructed results, illustrative)
Why this reading. The lab asks for four joining methods, two matching collages and a handle test. This technique sheet gives the join for each material, a protocol for the matching-collage test with a worked result, a numbered handle test and an example materials log. It is SLS original and the results in it are invented and illustrative.
Which join for what
| Join | Best for | How | Weakness |
|---|---|---|---|
| Gluing (PVA) | Paper, card, fabric, wood, light natural objects | Thin coat on the back; press 30 seconds; seal thin over the top | Slow to set on non-porous surfaces |
| Gluing (low-temperature glue gun) | Metal, plastic, glass-free heavy objects | Dot on the object, place, hold 10 seconds | Hot; brittle on fabric; only with an adult’s permission and an adult nearby |
| Tying | Objects with holes or necks: keys, bottle caps with a hole punched, twigs | Two turns and a square knot through the hole | Can slide |
| Wiring | Heavier objects on a board | Thin wire through two holes, twist at the back three full turns, bend the end flat | Sharp end if not bent |
| Stitching | Buttons, fabric, cards | Thread through the holes, four to six passes, knot at the back | Needs a base that can be pierced |
For a work that will be touched, a heavy button should be stitched or wired through the base, not glued.
Collage techniques by feel
Tearing leaves a soft, fibrous edge; cutting a crisp one. Layer large flat pieces first, then smaller, then raised ones. Crumple and flatten paper before gluing for a fine ridged texture.
The matching-collage test
Make two 10 × 10 cm collages with the same composition (same shapes in the same places). One uses new colored paper; one uses used material with a history: a map, a receipt, a page of your own letter. Show each to a family member or another adult separately. Ask only: What is this about? Write down the words exactly. If no one is available, put both away for a day, then write what a stranger could say each is about from what is visible alone. Worked result (invented):
| Collage | Reader said | What it shows |
|---|---|---|
| New paper | “Shapes. Like a pattern. Nice colors.” | Read as form |
| Used paper (old map, bus ticket) | “A trip. Someone leaving a place.” | Read as story |
Reading it. With the composition held equal, only the materials changed, and the reading changed from form to narrative. So materials carry associations, and you can choose them to do that on purpose.
Materials log (example row and blank rows)
| Material | Source | Association | Join | Secure after handle test? |
|---|---|---|---|---|
| Brass key | Old drawer at home | Access, secrets | Tied and wired | Yes |
| Bus ticket | My pocket, last week | Travel, routine | PVA | Edge lifted; re-glued |
The handle test
Turn the work gently through a full circle. Reach in and press each object once with a flat fingertip. Run a fingertip along each edge. Re-fix anything that moves, lifts or catches, and write what you re-fixed. Then rate each join 0 (came loose), 1 (moved), 2 (held).
What to leave out. No broken glass, rusted or jagged metal, medicines, batteries or sharp points. Never use personal documents with someone else’s name or address. Note the source of any image you include; a bus ticket is not a photograph someone else took.