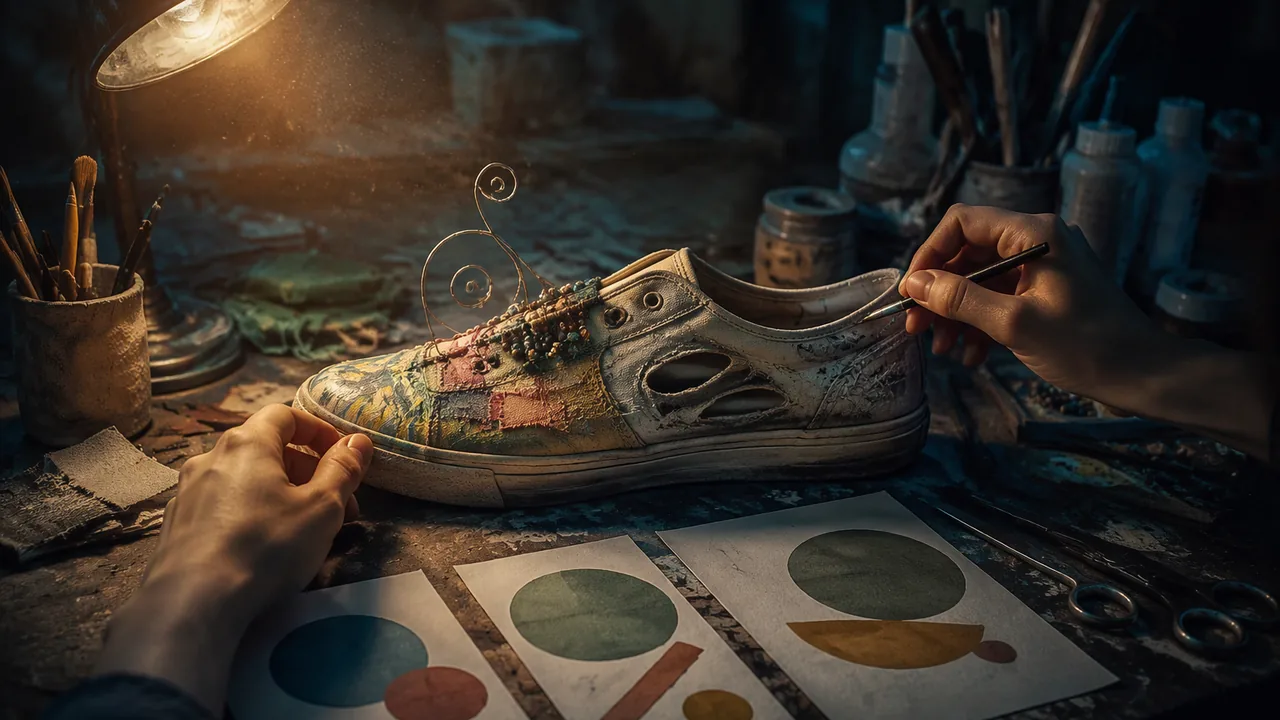
design and alter an old hat or shoe in the style of my researched artist, using additive and subtractive methods safely.
Instruction
The altered-object project asks you to find an old hat or shoe and alter it with art in the style of your selected artist, starting from rough drafts and using additive and subtractive methods to emphasize distinct qualities of the artist’s style. This workshop takes you from drafts to a work in progress.
Getting the object. Use a hat or shoe that your household owns and no one needs (an outgrown sneaker, an old boot), or one bought cheaply at a thrift store. Clean it thoroughly and let it dry. Fabric, canvas and leather take paint and glue well; shiny plastic and rubber need light sanding with fine sandpaper so paint grips.
From style to design. Take your five-heading style analysis from Lesson 4.3 and translate each heading into a decision for your object:
- Subject: what imagery or reference will appear?
- Formal language: which lines, shapes, colors and patterns?
- Materials and technique: how can you echo the artist’s process on this surface? (A printmaker’s style might suggest stamping or carved lines; a collage artist’s suggests pasted papers; a sculptor’s suggests added forms.)
- Scale and presentation: will the object be worn, displayed on a stand, or turned into sculpture?
- Idea: what does the object itself (a shoe: walking, travel, labor; a hat: identity, status, protection) add to the artist’s ideas?
Make at least three rough drafts: views of the object from the side, front and top, with color notes. Choose one and refine it.
Additive methods build onto the surface: paint (acrylic, fabric paint or paint markers), collage with matte medium, beads and sequins sewn or glued, wire forms, fabric, modeling compound, found objects. Subtractive methods remove material: cutting away parts of the upper or brim, sanding, scratching through paint, carving shallow lines into a thick sole. (Bleach is not used in this course because of its fumes.) Cutting and carving make the object’s structure part of the design. The strongest altered objects use both.
A worked example. A student who researched Hokusai chose an old white canvas sneaker. She painted a single sweeping wave in deep blue and white acrylic that rose from the sole and curled over the toe, with small boats along the side. Subtractively, she cut the tongue into a jagged crest, echoing the claw-like foam of the Great Wave. Additively, she stitched a tiny paper Mount Fuji onto the heel counter, so that when the shoe is seen from behind, the mountain appears small and distant, as it does in the print. The shoe’s idea, travel on foot, connected to Hokusai’s series of views of Mount Fuji seen from many different places.
Cutting safely at home. No rotary tools or other power tools are used in this course. Scissors, sandpaper and a craft knife achieve the subtractive effects you need. Use a craft knife only with an adult present: stuff the shoe or set the hat on a bowl, weight or clamp it on a cutting mat, cut away from your body, and never hold the object in your free hand in the blade’s path. Wear safety glasses when sanding, and sand outdoors or by an open window.
Self-critique with criteria from two contexts. Stop when the main design is established on all sides, photograph it from four sides, and leave it for a day. Then examine the photographs with two sets of criteria. The first comes from the artist’s own tradition: the five headings of your style analysis (for Posada, for instance, the black-and-white contrast, lively line and broadside text of Mexican popular printmaking). The second comes from contemporary practice: does the object transform the style rather than copy an image, is the artist credited, and does it avoid sacred or culturally owned designs? For each set, write one thing the work already meets and one it does not yet meet, and plan a specific revision for each before you continue.
📖 Read for this lesson
The reading opens over the lesson; close it to come back to exactly where you were. The checks below draw on it.
Formative check
Work through these before moving on. They are not graded — they tell you whether the standard below has landed yet.
Which plan best shows an artist’s style on an altered shoe rather than copying one image?
When cutting into an old shoe with a craft knife, you should hold the shoe in your free hand right behind the blade so you can steady it.
Missouri standard: VA:Cr3A.I
Describe one additive and one subtractive move in your design, and explain how each emphasizes a distinct quality of your artist’s style. Then examine your work in progress with one criterion from the artist’s own tradition and one from contemporary practice (transformation, credit, respect for culturally owned designs), and plan one revision for each. How have you credited the artist?
How confident are you that you can design and alter a hat or shoe in a researched artist’s style with additive and subtractive methods?
Practice
Work these on paper or in your notebook, then open Check your answer. Aim for all of Fluency and Application; try at least one Challenge.
Printable version: this unit’s practice workbook (PDF)
Fluency
Build speed and accuracy with the core skill.
- Define additive and subtractive methods and give two examples of each from the workshop.
Check your answer
Answer: Additive: building up by attaching or applying material (paint, collage with matte medium, sewn beads or sequins, wire forms, fabric, modeling compound, found objects). Subtractive: removing material (cutting away parts of the upper or brim, sanding, scratching through paint, carving shallow lines into a thick sole).The strongest altered objects use both. - What must you do to shiny plastic or rubber before painting, and why is bleach not used?
Check your answer
Answer: Sand it lightly with fine sandpaper so paint grips. Bleach is not used because of its fumes.Fabric, canvas and leather take paint and glue well. - List the safety rules for cutting a shoe or hat with a craft knife at home.
Check your answer
Answer: Only with an adult present; stuff the shoe or set the hat on a bowl; weight or clamp it on a cutting mat; cut away from your body; never hold the object in your free hand in the blade’s path; no power tools. Wear safety glasses when sanding, outdoors or by an open window.A clamp keeps both hands clear of the blade.
Application
Use the skill in context. Show your reasoning.
- Translate the lesson’s idea heading into a decision: what can a shoe add to an artist’s ideas, and what can a hat add? Give an example from the worked Hokusai sneaker.
Check your answer
Answer: A shoe suggests walking, travel and labor; a hat suggests identity, status and protection. In the worked example, the shoe’s idea of travel on foot connected to Hokusai’s series of views of Mount Fuji seen from many places.The object itself should add meaning, not just serve as a surface. - In the Hokusai sneaker, identify one additive and one subtractive move and the quality of the print each echoes.
Check your answer
Answer: Subtractive: the tongue cut into a jagged crest, echoing the claw-like foam of the Great Wave. Additive: a tiny paper Mount Fuji stitched onto the heel counter, so it appears small and distant from behind, as in the print. (The painted blue-and-white wave is also additive.)Each move emphasizes a distinct quality of the style rather than copying the whole image. - The technique sheet’s Posada shoe stamps a heap of 12 skulls with an eraser stamp about 0.75 x 0.75 inch. If the 12 stamps were set edge to edge in one row, how long would the row be? Is stamping additive or subtractive, and is carving the eraser stamp itself additive or subtractive?
Check your answer
Answer: 9 inches. Stamping white paint onto the shoe is additive; carving the eraser stamp is subtractive (it removes material from the eraser).12 x 0.75 = 9 inches. Stamping echoes a printmaker’s process, which is how the materials-and-technique heading becomes a decision on the object. - Write the two-context self-critique for an altered object in Posada’s style: one criterion from the artist’s tradition and one from contemporary practice, each with something met, something not yet met, and a revision.
Check your answer
Answer: Model. Tradition (Mexican popular printmaking): met, strong black-and-white contrast on the toe; not yet met, the caption text is missing; revision, letter a caption in capitals on the tongue. Contemporary: met, the imagery is new, not a copied print; not yet met, Posada is not credited; revision, add a label naming Posada and his broadsides.The lesson asks for one met and one unmet point per set, each with a specific planned revision.
Review
Keep earlier skills sharp.
- Review (Lesson 4.3): why does the workshop start from the five-heading style analysis rather than from a favorite image by the artist?
Check your answer
Answer: Because a style is the combination of recurring choices (subject, formal language, materials and technique, scale and presentation, ideas); translating each heading into a decision makes the object recognizably in the artist’s style without copying any one image.Pasting a copy of one image shows the image, not the style.
The Altered Hat or Shoe: Safety, Methods, Two Worked Designs with Steps and Times, and the Credit Line
SLS original technique sheet; Cleveland Museum of Art Open Access records 2000.97 (Posada) and 1983.10 (Ogata Kōrin), retrieved 26 September 2026 · SLS original (technique sheet, worked designs and step sequences); CC0 (museum records)
Why this reading. The workshop asks you to turn your five-heading style analysis into a design for a hat or shoe, make three rough drafts, use additive and subtractive methods, and stop at a work in progress. This sheet gives you the at-home safety rules and surface preparation, a table for translating each heading into a decision about the object, a full worked design in a different style from the lesson’s (Posada, on a shoe) and a second worked design that uses the reserve technique (Ogata Kōrin, on a hat), with steps, drying times and sizes. The two artist facts are from Cleveland Museum of Art Open Access records 2000.97 (Posada) and 1983.10 (Ogata Kōrin), CC0, retrieved 26 September 2026. All designs, sizes and times are SLS original, invented as models.
Getting and preparing the object
| Step | What to do |
|---|---|
| Choose | An old hat or shoe your household owns and no one needs (an outgrown sneaker, an old boot), or one bought cheaply at a thrift store |
| Clean | Wash or wipe thoroughly; let it dry for a full day |
| Fabric, canvas, leather | Take paint and adhesive well: no preparation needed beyond cleaning |
| Shiny plastic or rubber | Sand lightly with fine sandpaper (about 220 grit) until the shine is dull, wipe off the dust, so paint grips |
| Stuff the object | A shoe with rolled paper or a towel, a hat over a bowl or hat form, so it holds its shape |
| Bleach | Not used in this course because of the fumes |
Safety rules
Adhesives: water-based craft or fabric glue and matte medium; read the label; work by an open window; keep it off skin; never leave the cap off; strong adhesives only with an adult present; no spray products or solvents indoors. Craft knife: only with an adult present; stuff the shoe or set the hat on a bowl, and weight or clamp it on a cutting mat; cut away from your body, fingers behind the ruler, fresh blade; never hold the object in your free hand in the blade’s path. No power tools: no rotary tools or drills in this course; a craft knife, sandpaper and scissors make the subtractive effects you need. Sanding: safety glasses, outdoors or by an open window. Paint: acrylic, fabric paint or paint markers, water-based; seal with a brush-on clear acrylic sealer when finished.
Additive and subtractive methods
| Method | What it does | Tools and materials |
|---|---|---|
| Additive: paint | Builds color on the surface | Acrylic, fabric paint, paint markers |
| Additive: paste on | Adds papers, fabric, images | Matte medium or fabric glue |
| Additive: sew or glue on | Adds beads, sequins, wire forms, modeling compound, found objects | Needle and thread, strong adhesive |
| Subtractive: cut | Removes part of the brim, upper or tongue so the structure becomes part of the design | Craft knife, scissors |
| Subtractive: sand or carve | Removes surface or thickness on a sole | Sandpaper (shallow carving with a craft-knife tip, adult present) |
| Subtractive: scratch through | Scratches away a dry layer of paint to show what is under it | Craft-knife tip, needle |
| Subtractive: resist (reserve) | Leaves chosen areas unpainted so the object’s own color shows | Masking tape, cut shapes |
From style to design: the translation table, with two filled-in examples
Copy the table, fill it from your Lesson 4.3 style analysis, then draw. Each row turns one heading into one decision about this object.
| Heading | Design A: Posada style, on a white canvas high-top shoe | Design B: Ogata Kōrin style, on a pale straw hat |
|---|---|---|
| Subject | A skeleton walking, with a short invented caption (“Todos caminamos por el mismo camino,” all of us walk the same road) | One branch of a plum tree in blossom, the tree twisting out of view and back |
| Formal language | Black on white only; dense parallel-line shading; energetic lines; a heap of small skulls; capital letters; corner ornaments on the heel | Bold, simplified shapes; an angular black trunk; small five-petaled white blossoms |
| Materials and technique | Echo relief printing: carve a small rubber stamp for the skulls; paint pen for line; scratch through black paint for white lines | Echo the reserve technique: wash the hat with gray-brown paint and leave blossom shapes unpainted |
| Scale and presentation | Displayed on a stand with a paper broadside label beside it, in capital letters | Displayed on a stand at eye level; the branch wraps around the crown |
| Idea the object adds | A shoe is a journey; Posada’s death as the destination all travelers share | A hat sits on the head, the top of the body; a plum tree in blossom on it, growing out of the wearer |
Posada facts (Cleveland 2000.97): he combined image and text so that workers, many of them illiterate, could understand; he used skeletons to comment humorously on current events; in The Skeleton of the Buses a streetcar delivers passengers to Death, suggesting the graveyard is an inevitable stop on the journey. Kōrin facts (Cleveland 1983.10): ink on silk, c. 1700; he probably roughed in the tree, then applied an ink wash to the whole silk except where he intended the flowers, using the reserve technique, in which selected areas are left unpainted; the tree twists out of view and returns with a branch of new growth.
Three rough drafts
Set the object on a sheet of paper and trace its outline from the side at full size. Then draw front and top views at half size beside it. That gives you three drafts. On each draft, mark color notes in letters (K = black, W = white, G = gray-brown) and mark the main surface for the design. Choose one draft and refine it; put a reason under it.
Worked step sequence for Design A (the Posada shoe)
| Step | Action | Size or time |
|---|---|---|
| 1 | Clean and stuff the shoe. Draw the design lightly in pencil, in three drafts | 50 minutes |
| 2 | Paint the toe cap solid black in acrylic, two thin coats | Coat 1, wait 30 minutes to touch dry, coat 2; cure overnight |
| 3 | Carve a skull stamp from an eraser, about 0.75 x 0.75 inch; stamp a heap of 12 skulls on the outer side in white paint | 10 minutes; dry 30 minutes |
| 4 | Scratch through the dry black toe cap with a craft-knife tip to draw parallel white lines, about 2 mm apart, as the shading of a skeleton’s bones (subtractive) | 30 minutes |
| 5 | Draw the skeleton figure in paint pen on the lateral side, about 5 inches high; add hatching in dense parallel lines | 40 minutes |
| 6 | Letter the caption in capitals on the tongue; add corner ornaments to the heel counter with a fine brush | 30 minutes |
| 7 | Stop for self-critique when the toe, the outer side, the inner side and the heel each have their main design established (see the self-critique below). Seal after revising with a brush-on clear acrylic coat | Overnight before sealing |
Worked step sequence for Design B (the Kōrin hat)
- Cut a template for one five-petaled blossom, about 1 inch across. Cut nine from masking tape and press them onto the crown and brim in a loose diagonal cluster, the branch running from the brim’s edge up over the crown (20 minutes).
- Paint a thin, diluted gray-brown acrylic wash over the whole hat, leaving the tape alone. Let it dry 30 minutes; add a second wash to make the ground darker where you want depth (reserve technique; subtractive by not painting).
- Peel off the tape at a low angle. The straw’s original color is now the blossoms.
- Paint one bold, angular black trunk and a single thin branch in paint marker, broken and twisting out of view at the brim’s edge.
- Add small centers to five of the blossoms in a dab of gray paint. Stop for self-critique when the crown, front brim, back brim and underside of the brim all carry part of the design.
Self-critique: criteria from two contexts
Photograph the object from four sides and leave it a day. Then fill in this table and plan one revision per row before you continue.
| Criteria | Where they come from | Already met | Not yet met | Planned revision |
|---|---|---|---|---|
| The five headings of your style analysis (for Design A: black on white, dense parallel lines, a skeleton acting like the living, caption text) | The artist’s own tradition (here, Mexican popular broadside printmaking) | |||
| Transforms rather than copies; artist credited; no sacred or culturally owned designs | Contemporary practice and ethics |
Worked example (Design A, SLS original): Tradition: met, the toe cap is pure black and white; not yet met, the inner side has no text, though Posada always joined image and words; revision, letter a second short caption along the inner side. Contemporary: met, no single print is copied; not yet met, the credit line is not written; revision, write the label before sealing.
Credit line
Write a label to go with the object: “Altered shoe in the style of José Guadalupe Posada (Mexican, 1852-1913), after The Skeleton of the Buses, c. 1900-10, Cleveland Museum of Art, 2000.97. Made by [your name], [year]. No copyrighted image is reproduced.” Do not copy any single image of the artist onto the object: use the recorded language (line, subject, method), not the picture.
Checklist for the work in progress
Three drafts with color notes; one refined and chosen with a reason; the design established on every side; at least one additive and one subtractive move; safety rules followed; credit line written.
Sources: Cleveland Museum of Art, The Skeleton of the Buses (Posada), 2000.97 (clevelandart.org); Cleveland Museum of Art, Plum Tree (Ogata Kōrin), 1983.10 (clevelandart.org)