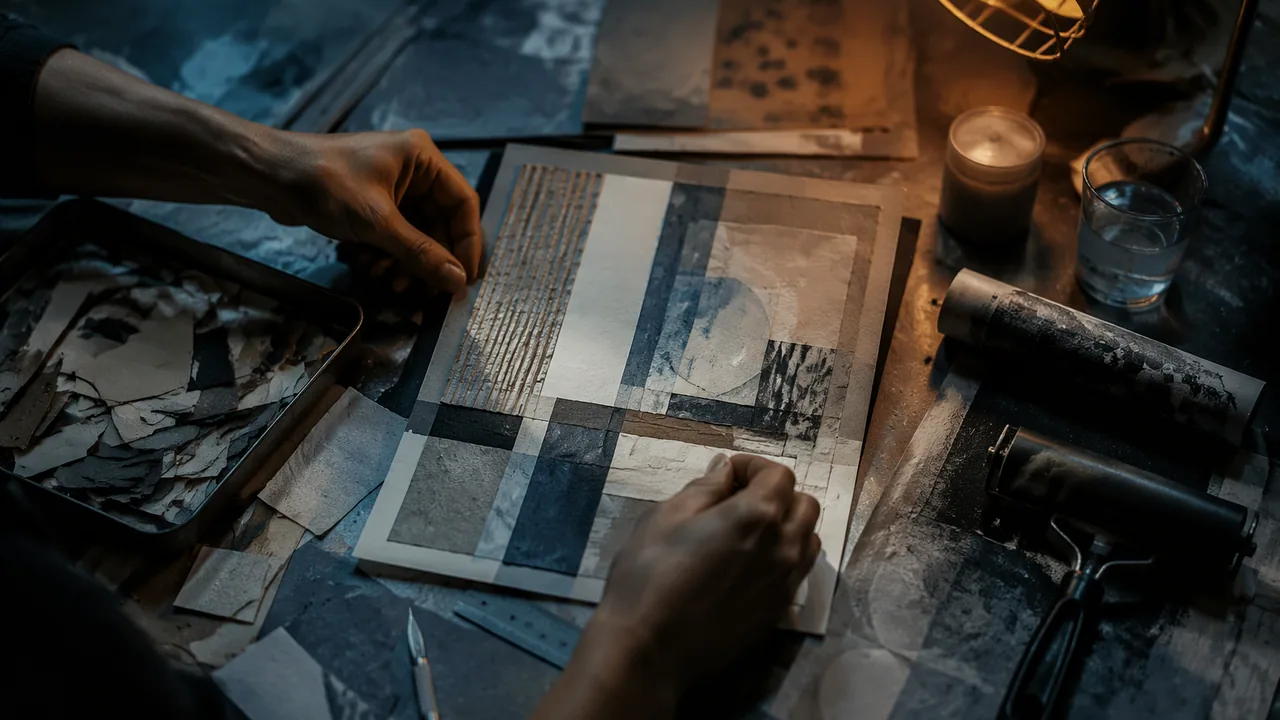
make and evaluate six mixed-media techniques, handling adhesives, inks and blades safely and with care for health and the environment.
Instruction
This course asks you to study and practice several two-dimensional collage techniques: transfer, textural objects, weavings, torn papers, paste papers, monoprint and layered effects. This lab builds a sampler of six, so that when you plan your poem collage you choose techniques for what they mean, not only for what you have tried once.
1. Torn and cut edges. A cut edge is crisp and deliberate; a torn edge is soft and shows the paper’s fibers. Tear toward yourself with the grain for a controlled tear, against the grain for a ragged one. Tearing colored paper often reveals a white core, which makes a light line along the edge. Use that line on purpose.
2. Paste paper. Mix a paste of flour and water (or methylcellulose) with acrylic paint, brush it on paper, and comb, scrape or stamp patterns into it before it dries. Bookbinders have used paste papers for centuries. They give you your own patterned papers, so your collage is built from materials you made rather than only from magazines.
3. Image transfer. Transfer moves a printed image onto another surface, leaving it translucent and partly broken. Two safe methods: burnish clear packing tape onto a toner photocopy, soak it in water, and rub the paper off the back, leaving the ink on the tape; or brush acrylic gel medium onto the surface, press a toner copy face down, let it dry fully, then dampen and rub away the paper. Transfers work only with toner (laser) copies or magazine pages, not inkjet prints. Do not use solvent transfer methods (acetone, blender markers, oil of wintergreen); their fumes are hazardous indoors.
4. Weaving. Cut two images into strips, one vertical and one horizontal, and weave them. Where they cross, both images are present at once, a visual way to show two places, two times or two languages together. Keep one end of the vertical strips uncut so the warp holds its order.
5. Monoprint. A monoprint or monotype is a print that can be pulled only once. Roll a thin layer of water-based block-printing ink (or washable paint) onto a gel plate, a sheet of acrylic, a plastic folder or a baking sheet with a brayer or a brush, draw into it or lay stencils and textured objects on it, then press paper on top and rub. Edgar Degas made many monotypes and often worked pastel over them, as in Ballet at the Paris Opéra (1877, pastel over monotype, Art Institute of Chicago). Monoprints give soft, unrepeatable textures that make good collage papers.
6. Layering and glazing. Build a surface by gluing thin papers (tissue, rice paper, pattern tissue) over one another with matte medium, letting lower layers show through. Glaze a thin wash of transparent acrylic over a finished area to unify colors. Layering can suggest time or memory: what is underneath is still there but partly hidden.
Adhesives and the environment. Use PVA glue or acrylic matte medium, applied thinly with a brush from the center outward, then press under a sheet of scrap paper with a brayer to remove bubbles. Glue sticks are fine for thin papers but fail over time. Spray adhesives are not used in this course because of inhalation risk. Wash brushes in a bucket or old container, not the sink, so that acrylic solids can settle and be thrown away rather than going down the drain. Standard VA:Cr2B.I asks you to explain how materials affect health and the environment; your sampler notes should say so for each technique.
📖 Read for this lesson
The reading opens over the lesson; close it to come back to exactly where you were. The checks below draw on it.
Studio: Six-technique mixed-media sampler
Question. How do different mixed-media techniques change the look and meaning of the same image, and which ones suit the ideas in your poem?
Materials
- Heavy mixed-media paper, mat board or a flattened cereal-box panel, 11 x 14 inches, divided into six sections
- Toner photocopies or old magazine pages, clear packing tape, acrylic gel or matte medium or white (PVA) glue
- Flour or methylcellulose, acrylic paint, an old comb or a card scraper for paste paper
- Water-based block-printing ink or washable paint, a brayer or brush, and a gel plate, plastic folder or baking sheet
- Tissue or thin wrapping paper, scissors, a cutting mat or thick cardboard, and (with an adult present) a craft knife with a cap
- Old brushes, a bucket or old container of rinse water, paper towels
- Scissors do most of this lab. If you use a craft knife, an adult is present; cut only on a cutting mat or thick cardboard, away from your body and hands, with a metal ruler, and cap the blade whenever it is set down.
- No solvent transfers (acetone, blender markers, oil of wintergreen) and no spray adhesives; use only water-based media and open a window when using large amounts of medium.
- Check for gluten allergy in your household before using flour paste; use methylcellulose or diluted white glue instead if anyone is affected.
- Rinse brushes and brayers into a bucket, not the sink, and let acrylic solids settle out before disposing of them in the trash.
Procedure
- Divide your board into six labeled sections: torn and cut edges, paste paper, transfer, weaving, monoprint, and layering.
- Choose one image you have the right to use (your own photograph or drawing, or a public-domain image) and make several toner copies of it (a library or copy shop can make them if you have no laser printer), or use magazine pages.
- Make each technique in its section using the same image or its colors, so that the only thing changing is the technique.
- For the monoprint, pull at least two prints from the same inked plate and keep the paler second pull (the ghost) as well as the first.
- Let all sections dry flat under a weighted board overnight.
- Beside each section, write the technique’s look, the time it took, what went wrong, and one meaning it could carry in a collage (for example, layering suggesting memory).
Data
| Technique | Visual quality | Time | Problems met | Possible meaning | Health or environment note |
|---|---|---|---|---|---|
| Torn and cut | |||||
| Paste paper | |||||
| Transfer | |||||
| Weaving | |||||
| Monoprint | |||||
| Layering |
Analysis
- Which technique changed your image the most, and what did it add or take away? Point to the evidence on your board.
- Which two techniques would best carry the ideas in your poem, and why?
- Which material in this lab had the largest health or environmental cost, and how did you reduce it?
If you cannot do this studio in person: At home, a sampler of four techniques is possible with household materials: torn and cut paper, a packing-tape transfer from a magazine page, a woven pair of images, and layered tissue or thin paper glued with diluted white glue. Make a monoprint by rolling or brushing washable paint on a plastic folder or baking sheet and pressing paper onto it.
Formative check
Work through these before moving on. They are not graded — they tell you whether the standard below has landed yet.
Your transfer did not work: the image stayed on the paper. What is the most likely cause?
Rinsing acrylic brushes into a bucket and letting the solids settle is better for the environment than rinsing them in the sink.
A print that can be pulled only once from an inked plate is called a .
How confident are you that you can make six mixed-media techniques safely and explain what each could mean in a collage?
Practice
Work these on paper or in your notebook, then open Check your answer. Aim for all of Fluency and Application; try at least one Challenge.
Printable version: this unit’s practice workbook (PDF)
Fluency
Build speed and accuracy with the core skill.
- Name the six techniques on the sampler board.
Check your answer
Answer: Torn and cut edges; paste paper; image transfer; weaving; monoprint; layering and glazing.Each is chosen later for what it means, not only for what you have tried once. - What is a monoprint, and what is the paler second pull from the same plate called in the lab?
Check your answer
Answer: A print that can be pulled only once, made from an inked surface that is drawn into or altered. The paler second pull is the ghost.Degas often worked pastel over monotypes, as in Ballet at the Paris Opéra (1877). - Which copies work for tape and gel transfers, and which do not? Which transfer methods are banned in this course and why?
Check your answer
Answer: Toner (laser) copies or magazine pages work; inkjet prints do not. Solvent methods (acetone, blender markers, oil of wintergreen) are not used because their fumes are hazardous indoors.Inkjet ink soaks into the paper and does not lift.
Application
Use the skill in context. Show your reasoning.
- You want a ragged torn edge on one strip and a controlled one on another. How do you tear each, and what extra feature of colored paper can you use?
Check your answer
Answer: Ragged: tear against the grain. Controlled: tear toward yourself with the grain. Tearing colored paper often reveals a white core, making a light line along the edge that you can use on purpose.A cut edge reads as crisp and deliberate; a torn edge as soft, showing the fibers. - Give two health or environment notes for this lab and the reason for each.
Check your answer
Answer: Any two: rinse brushes in a bucket, not the sink, so acrylic solids settle and go in the trash rather than the drain; no spray adhesives because of inhalation risk; no solvent transfers because of fumes; check for gluten allergy before using flour paste (use methylcellulose or diluted glue instead); cut only on a mat with an adult present and the blade capped.Standard VA:Cr2B.I asks you to explain how materials affect health and the environment. - The sampler-kit layout puts six 5 x 7 inch panels on an 18 x 24 board, three across, with 0.5-inch outer margins and 1-inch gaps. How wide is the row of panels including the left margin, and how much board is left at the right?
Check your answer
Answer: 17.5 inches; 0.5 inch is left at the right (so the margins match).0.5 + 5 + 1 + 5 + 1 + 5 = 17.5. 18 – 17.5 = 0.5 inch. - Match a technique from the sampler to each meaning: (a) two places or two languages joined, (b) memory, a photograph present but faded, (c) time, what is underneath still there but partly hidden, (d) a place built from patterns you made yourself.
Check your answer
Answer: (a) weaving; (b) image transfer; (c) layering and glazing; (d) paste paper.Where woven strips cross, both images are present at once; a transfer leaves the image translucent and partly broken.
Challenge
Stretch problems. Expect to think before you write.
- Your gel transfer failed and the image stayed on the paper. List the two most likely causes the lab points to, and describe a correct gel transfer step by step.
Check your answer
Answer: Likely causes: an inkjet print was used, or the medium was not allowed to dry fully before rubbing. Correct method: brush acrylic gel medium onto the surface, press a toner copy face down, let it dry fully, then dampen and rub away the paper, leaving the ink.Toner or magazine pages only; the drying step is what binds the ink to the medium.
Review
Keep earlier skills sharp.
- Review (Lesson 3.1): which earlier artist’s collages used scraps whose printed letters become shapes, and how could you use that idea when you make your torn-and-cut panel?
Check your answer
Answer: Kurt Schwitters (Merz collages such as Little Dance). Tear or cut printed paper so the letters act as shapes and textures in the panel, not as words to be read.Later the acrostic letters can be treated the same way, as shapes, not labels.
The Six-Technique Sampler: Board Layout, a Model Record Sheet, Transfer Troubleshooting and Two Museum Monotypes
SLS original technique kit; Art Institute of Chicago record 61603 (Degas, Ballet at the Paris Opéra, 1981.12); Cleveland Museum of Art Open Access record 1977.44 (retrieved 26 September 2026) · SLS original (kit); CC0 (museum records)
Why this reading. The lab has you build a labeled sampler board of six techniques and write notes on each one’s look, effort and meaning, and its health and environmental impact. This kit gives you a board layout with measurements, a filled-in record sheet you can use as a model (with times), a troubleshooting table for the most common failure (transfers), and two museum monotype records so you can see the technique in real work. It is SLS original; museum data is CC0 or public domain (Art Institute of Chicago 1981.12; Cleveland Museum of Art 1977.44; retrieved 26 September 2026).
The board layout
A board 18 x 24 inches. Six panels, each 5 x 7 inches, three across and two down, with 0.5-inch outer margins and 1-inch gaps: across is 0.5 + 5 + 1 + 5 + 1 + 5 = 17.5 inches; down, allowing a 2-inch label strip under each panel: 0.5 + 7 + 2 + 1 + 7 + 2 = 19.5 inches. Each label strip carries the technique’s name and three notes: Look, Effort, Meaning; and one line for health and environment.
A model record (SLS original; the times are targets for one 5 x 7 panel)
| Technique | Look | Effort | Meaning it could carry | Health and environment |
|---|---|---|---|---|
| 1. Torn and cut edges | Cut is crisp and deliberate; torn is soft and fibrous with a white core line | 5 minutes | Cut for control; torn for softness, age, memory | Cut on a mat, blade away from the hand |
| 2. Paste paper | Combed, scraped or stamped patterns; handmade and slightly uneven | 25 minutes to make; dry overnight | A place built from patterns you made yourself | Water-based; wash brushes in a bucket so acrylic solids settle |
| 3. Image transfer | Translucent, partly broken image | 30 minutes plus drying; a failed one costs 15 minutes | Memory: a photograph that is present but faded | Toner copies only; no solvent methods (acetone, blender markers, oil of wintergreen) because of fumes |
| 4. Weaving | Two images crossing; both present at once | 20 minutes | Two places, times or languages joined | Scissors or knife care |
| 5. Monoprint | Soft, unrepeatable texture | 20 minutes; one pull only | One-time moments; texture as a trace | Water-based block-printing ink; clean the plate with damp cloths, not a running tap |
| 6. Layering and glazing | Depth; lower layers show through | 30 minutes plus drying | Time and memory: what is beneath is still there | Matte medium and acrylic: buckets for rinsing; no spray adhesive |
Transfer troubleshooting
| Symptom | Likely cause | Fix |
|---|---|---|
| The image stayed on the paper and nothing moved | An inkjet print was used; these methods work only with toner (laser) copies or magazine pages | Make a toner photocopy and start again |
| The transfer is faint and patchy | The gel medium layer was too thin, or the paper was not pressed down evenly | Apply a thicker, even coat and press with a brayer or the back of a spoon |
| The image tore when the paper was rubbed off | The paper was rubbed while still dry, or too hard | Dampen it thoroughly and rub gently with a fingertip in small circles |
| The transfer is reversed | Every transfer mirrors the original | Reverse the image before copying if text or direction matters |
Monotype in museum work (records only)
Edgar Degas, Ballet at the Paris Opéra, 1877. Pastel over monotype on cream laid paper; plate 35.2 x 70.6 cm (13 7/8 x 27 13/16 in.); sheet 35.9 x 71.9 cm (14 3/16 x 28 5/16 in.); Art Institute of Chicago, 1981.12, public domain. The pastel, worked on top of the printed monotype, is the lesson’s example of monoprint as a base for further work. Edgar Degas, In the Salon, c. 1880s. Monotype; image 11.9 x 16 cm (4 11/16 x 6 5/16 in.), sheet 24.5 x 18.8 cm (9 5/8 x 7 3/8 in.); Cleveland Museum of Art, 1977.44, CC0. Both are one-of-a-kind impressions: the image was drawn or wiped into ink on a plate and pressed once onto paper.
How to make a monoprint on your board panel: roll a thin, even layer of water-based ink on a gel plate or acrylic sheet with a brayer; lay a stencil or textured object on the ink or draw into it with a stick; press a 5 x 7 inch sheet of paper on top and rub with the back of a spoon for about 30 seconds; peel it off. Expect only one good print. A second pull from the same ink is called a ghost print and is fainter.
Sources: Art Institute of Chicago, Ballet at the Paris Opéra (Degas), 1981.12 (artic.edu); Cleveland Museum of Art, In the Salon (Degas), 1977.44 (clevelandart.org)