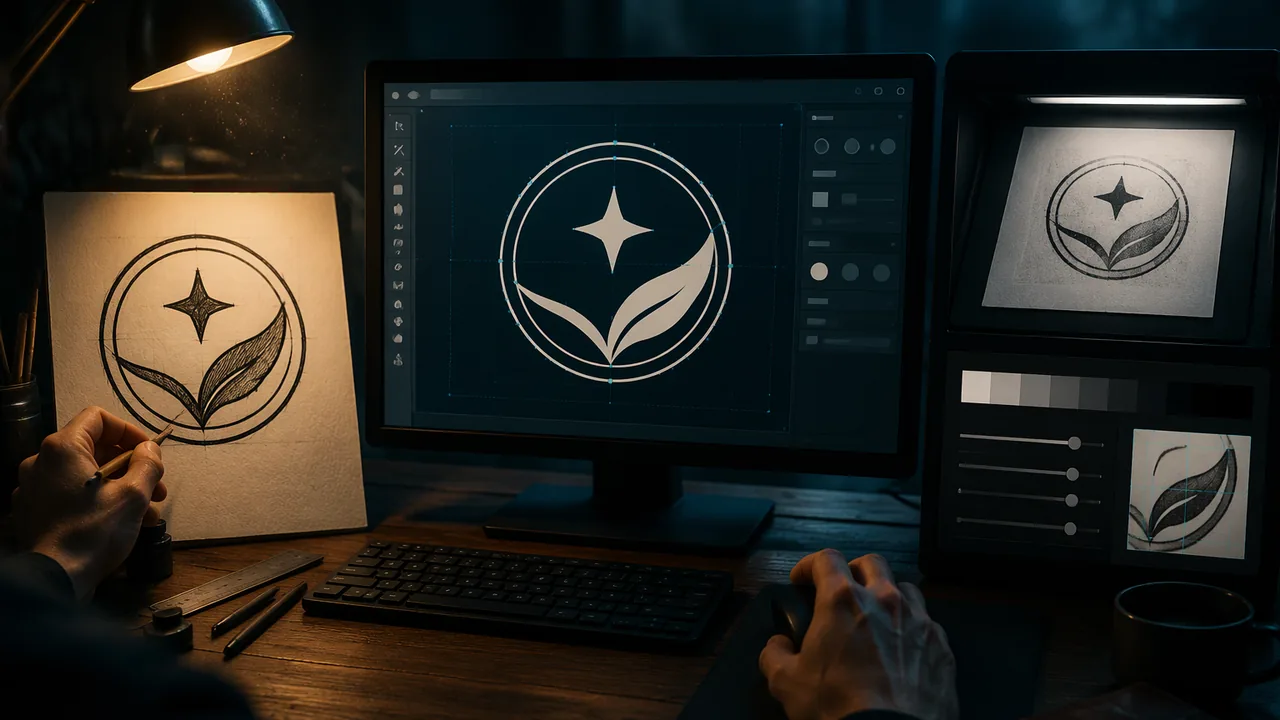
create the same design by hand and in digital software, use core vector and raster techniques, and compare the strengths and limits of each method with evidence.
Instruction
This studio answers a practical question the record for this course asks directly: what changes when you make the same design with different tools? You will make one small design, a set of three simple icons or a badge for your Unit 2 client, three ways, and compare them.
Route 1: by hand. Draw the design with pencil, then ink it with a black fine-tip pen or brush marker. Hand drawing is fast to start and has character: slight wobbles, varying line weight and texture. It is slow to change: to move one element, you redraw.
Route 2: vector in Inkscape. Rebuild the design from shapes and paths. Three techniques do most of the work. Primitives: the rectangle, ellipse and star/polygon tools make exact shapes; hold Ctrl while dragging to constrain them to squares, circles and angles. The Bezier (pen) tool: click to place a corner point; click and drag to create a smooth curve point with handles; press Enter to finish. Use as few points as possible, because fewer points make smoother curves. Then use the node tool (N) to adjust points and handles. Path operations (Path menu): Union joins overlapping shapes into one; Difference cuts the top shape out of the one below; Intersection keeps only the overlap. A crescent moon, for example, is one circle minus a slightly offset circle. Set colors in the Fill and Stroke dialog, remembering that fill is the inside and stroke is the outline. Group related objects (Ctrl+G) and name your layers.
Route 3: scan and clean up in GIMP. Photograph or scan your hand drawing flat, in even light. In GIMP, convert it to grayscale, then use Colors > Levels: drag the black input slider right and the white slider left until the paper is pure white and the ink is solid black. Colors > Threshold does this in one step for pure line art. Use a layer, not the original, so you can go back. Crop with the crop tool and export a PNG. Notice that the result is still raster: it has a fixed pixel size, so scan at a high resolution (300 ppi or more) if it will be printed large. Inkscape’s Path > Trace Bitmap can convert a clean black-and-white scan into vector paths, which keeps the hand-made character while making the design scalable; always check and simplify the traced nodes.
Optional route: painting in Krita. If you want texture or a painted look, Krita’s brush engines imitate pencil, ink and paint, and respond to pressure if you have a drawing tablet.
Comparing fairly. Keep a simple record for each route: time to first version, time to make one change (for example, moving an element or changing the size), how it looks at a very small size (0.5 inch) and a large size (8 inches), and how it feels. Evidence beats opinion: “Changing the icon size took 5 seconds in Inkscape and a full redraw by hand” is a finding; “digital is better” is not.
Care of tools and workspace. Cap markers and pens after use, keep scanner glass clean with a soft dry cloth, coil cables so no one in your home trips, and leave your workspace ready for your next session. Save working files with version numbers and keep a copy in a second place.
📖 Read for this lesson
The reading opens over the lesson; close it to come back to exactly where you were. The checks below draw on it.
Studio: One Design, Two Media
Question. How do hand media and digital tools differ in speed, flexibility, scalability and character when you make the same design?
Materials
- Drawing paper, pencil, eraser and a black fine-tip pen or brush marker
- A phone camera or flatbed scanner
- A computer with Inkscape and GIMP installed (free and open source, no account needed; Krita optional), or graph paper and a compass for the no-device route
- A ruler and a timer
- Your concept sketches from Unit 2
- Set up your workstation ergonomically before long digital work: screen at or just below eye level, wrists straight, feet flat; take a 20-second far-focus eye break every 20 minutes.
- Route cables along desk edges and never across walkways; tell a parent about frayed cables and do not use them.
- Handle the scanner lid gently and clean the glass only with a soft dry cloth.
- Save working files every ten minutes with version numbers and keep a backup copy on a USB drive or a parent-approved cloud folder.
Procedure
- Choose the design: three simple icons (for example calendar, location, sign-up) or a badge for your Unit 2 client. Sketch it in pencil at about 3 inches wide.
- Route 1 (hand): ink the final version in black. Time how long it takes and record it.
- Route 2 (vector): in Inkscape, rebuild the design using primitives, the Bezier tool and at least one path operation (union or difference). Time it and record it.
- Route 3 (scan): scan or photograph the inked drawing, clean it in GIMP with Levels or Threshold on a duplicate layer, crop, and export a PNG. Optionally run Trace Bitmap in Inkscape on the clean scan.
- Change test: make the same change in each version (enlarge one element by 50% or move it) and time each change.
- Scale test: view or print each version at 0.5 inch and at 8 inches wide, and note what happens to edges and detail.
Data
| Measure | Hand | Vector (Inkscape) | Scan (GIMP) |
|---|---|---|---|
| Time to first version (min) | |||
| Time to make one change (min) | |||
| Quality at 0.5 in | |||
| Quality at 8 in | |||
| Character or feel (one phrase) |
Analysis
- Using your table, which route was fastest to start, and which was fastest to change? Explain why.
- Which version held up best at 8 inches, and what does that tell you about raster and vector images?
- Which version best fits your Unit 2 client’s audience, and would you combine routes in a real job? Justify with at least two numbers from your table.
If you cannot do this studio in person: No-device route: complete Route 1 as written. For Route 2, redraw the design on graph paper using only exact shapes made with a ruler and compass, and label each shape as a vector object (shape, size in inches, fill, stroke, and any union or difference you would apply). For Route 3, photograph the drawing flat in daylight with a phone and use the phone’s built-in photo editor to crop and raise the contrast; if no camera is available, trace the drawing onto clean paper as your “cleaned” version. Time each route and fill in the same table.
Formative check
Work through these before moving on. They are not graded — they tell you whether the standard below has landed yet.
In Inkscape, how would you make a crescent moon from two circles?
Which statement is a finding rather than an opinion?
A scanned drawing cleaned up in GIMP can be enlarged to any size without losing quality.
List three things you did in this studio to protect your body, the equipment or your files, and explain why each matters in a design workplace.
How confident are you that you can make one design by hand and digitally and compare the methods with evidence?
Hand and Digital Sheet: A Worked Design, Scan and Vector Recipes with Numbers, and Findings versus Opinions
SLS original lab sheet; constructed example · SLS original
Why this reading. The lab asks you to make one design by hand and digitally, clean a scan, and compare the methods with evidence. Here is a worked design, recipes with real numbers, and examples of findings versus opinions. SLS original.
The design: a sun over a crate (constructed)
By hand: a 4 × 4 in. square; in the upper left a circle 1.5 in. across; below it a crate drawn as a 2 × 1.5 in. rectangle with three slats. Scan at 300 ppi: 4 × 300 = 1,200 × 1,200 px. Enlarged to 8 in. wide, it is 1,200 ÷ 8 = 150 ppi, so it prints softer; this is why the scan is a raster with fixed pixels. Clean it in GIMP (crop, raise contrast, remove gray paper tone). To scale without limit, trace it in Inkscape (Trace Bitmap) and check the paths.
Vector recipe: a crescent
Draw circle A, 2 in. across. Draw circle B, also 2 in., moved 0.5 in. to the right and placed on top. Select both and use Path > Difference: the top shape is cut out of the bottom one, leaving a crescent open to the right, as the lesson says.
Findings and opinions
| Statement | Finding or opinion? |
|---|---|
| Enlarging the icon took 5 seconds in Inkscape and a full redraw by hand. | Finding: it can be timed and repeated |
| Digital is better. | Opinion |
| The hand version kept the rough texture of the crate slats; the trace smoothed it. | Finding: point at the slats |
| I prefer markers. | Opinion |
Comparison table headings
Time to make; time to change a color; time to enlarge to 8 inches; sharpness at 8 inches; texture; what I would use for a logo, and for a poster illustration. Fill each cell with a measurement or a specific observation.
Protecting body, equipment and files
Examples of the kind of answer expected: set the screen so you look straight ahead with wrists level and feet supported, and look away from the screen at regular intervals; cap markers and keep drinks away from the scanner and tablet; save numbered versions and keep a second copy (see Lesson 3.4). Explain why each matters at work: injuries, repair costs, lost jobs.