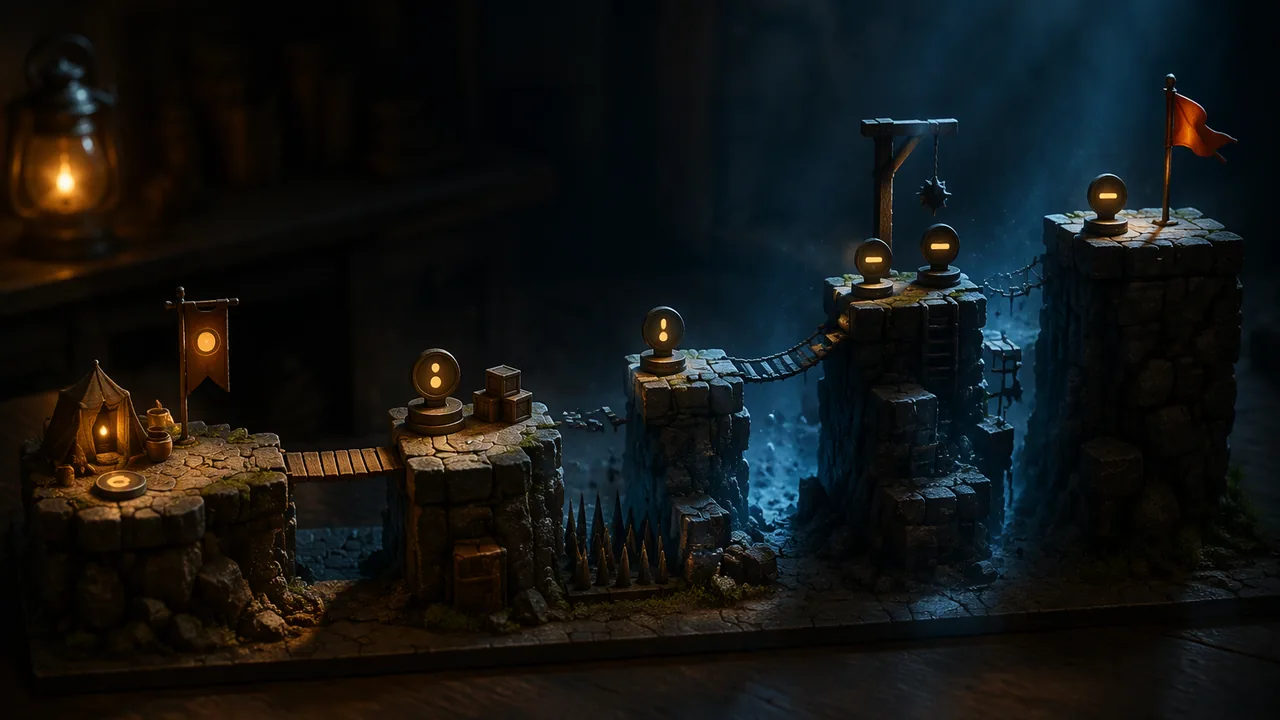
analyze how a level teaches a mechanic, paces intensity and guides the player, and judge strong and weak level design against the idea of flow.
Instruction
A level is not just a place. It is a lesson, a piece of music and a conversation with the player, all at once. Good level design teaches without text, varies intensity like a song and leads the eye so the player rarely feels lost.
Teaching without words. Many designers describe a four-step pattern: introduce a mechanic somewhere safe, test it with a simple challenge, twist it by combining it with something else or raising the stakes, then finish with a challenge that asks for everything learned. The opening of Super Mario Bros. (1985) is the most-studied example. The player starts on the left with open space ahead, so they learn to move right. The first enemy walks slowly toward them on flat ground, where the natural response, jumping, is easy to discover and a mistake costs little. Blocks overhead invite a jump to hit them. Each lesson arrives when the player is ready for it.
Flow. The psychologist Mihaly Csikszentmihalyi described flow as a state of deep absorption that occurs when a challenge closely matches a person’s skill. Too hard and the person feels anxious; too easy and they feel bored. Players’ skill grows as they play, so difficulty should rise to keep them in the channel between the two. That is why good difficulty curves rise overall but in a sawtooth: a hard section, then a breather, then a harder section. Constant maximum intensity is exhausting, not exciting.
Pacing and the intensity graph. Sketch intensity (danger, speed, pressure) against time or distance through the level. You should see peaks and valleys: tension, release, a larger peak. Valleys are where the player rests, explores, collects rewards and takes in the story. A level that is all peak or all valley needs rework. Rewards placed after a peak feel earned; rewards placed in a quiet side path encourage exploration.
Guiding the player. Designers lead players without arrows:
- Sightlines and landmarks: a tall tower visible from the start tells players where the goal is.
- Leading lines: paths, pipes, rows of coins and edges of light draw the eye in a direction.
- Contrast: the brightest or most saturated thing on screen gets noticed first, so use it for what matters.
- Breadcrumbs: a trail of collectibles pulls players along a route and also shows where a jump lands.
- Gating: a locked door seen before its key tells the player what to look for.
Strong and weak design. Weak levels hide lethal hazards off-screen (a “blind jump”), punish players for something they had no way to learn, send them back over long empty distances, or give them no idea of the goal. Strong levels are readable at a glance, fair on the first attempt even when hard, and give a reason to go on. A useful test: when a player dies, can they say what they should do differently? If yes, the death taught something. If not, it only punished them.
Motivation. Players keep going for a sense of progress, mastery and curiosity. Levels feed all three with visible progress, fair challenge and secrets worth finding.
📖 Read for this lesson
The reading opens over the lesson; close it to come back to exactly where you were. The checks below draw on it.
Formative check
Work through these before moving on. They are not graded — they tell you whether the standard below has landed yet.
Testers say a level is “exhausting” although none of its jumps is especially hard. What does the intensity graph most likely show?
A blind jump that kills players who could not see the spikes below is a fair way to raise difficulty.
Choose the first level of any game you know. Describe how it introduces, tests and twists one mechanic, and sketch its intensity graph. Name one guidance technique it uses and one place it could be fairer.
How confident are you that you can analyze how a level teaches, paces and guides the player?
Practice
Work these on paper or in your notebook, then open Check your answer. Aim for all of Fluency and Application; try at least one Challenge.
Printable version: this unit’s practice workbook (PDF)
Fluency
Build speed and accuracy with the core skill.
- Name the four steps designers use to teach a mechanic through a level, in order.
Check your answer
Answer: Introduce it somewhere safe; test it with a simple challenge; twist it by combining it or raising the stakes; finish with a challenge that asks for everything learned.Each lesson should arrive when the player is ready for it. - Define flow, name who described it, and say what happens when challenge is too hard or too easy.
Check your answer
Answer: A state of deep absorption when a challenge closely matches a person’s skill, described by Mihaly Csikszentmihalyi. Too hard: anxiety. Too easy: boredom.Because skill grows, difficulty should rise to keep players in the channel between the two. - Match each guidance technique to its example: sightline/landmark, leading lines, contrast, breadcrumbs, gating. Examples: (a) a row of coins that shows where a jump lands; (b) a locked door seen before its key; (c) a tall tower visible from the start; (d) the brightest object on screen; (e) a pipe running toward the exit.
Check your answer
Answer: (a) breadcrumbs; (b) gating; (c) sightline/landmark; (d) contrast; (e) leading lines.Designers lead players without arrows.
Application
Use the skill in context. Show your reasoning.
- Explain how the opening of Super Mario Bros. (1985) teaches the player to move right and to jump, using the lesson.
Check your answer
Answer: The player starts on the left with open space ahead, so they move right. The first enemy walks slowly toward them on flat ground, where jumping is easy to discover and a mistake costs little; blocks overhead invite a jump to hit them.Each lesson arrives when the player is ready, without text. - Sketch (describe in words) a sawtooth difficulty curve for a five-section level, and say where you would place a reward.
Check your answer
Answer: Model: section 1 easy; 2 harder (peak); 3 breather (valley); 4 harder than 2 (bigger peak); 5 short rest then the final challenge. Place a reward right after a peak (after section 2 or 4) so it feels earned, or on a quiet side path to encourage exploration.Difficulty rises overall but drops after each peak; constant maximum intensity is exhausting. - A level has spikes below a jump that players cannot see before they leap. Name the problem and give two fixes.
Check your answer
Answer: A blind jump: it punishes players for something they had no way to learn. Fixes: move the camera or the platform so the spikes are visible before the jump; add a breadcrumb trail of coins showing a safe landing; add a warning sign or sightline.Strong levels are fair on the first attempt even when hard. - Apply the lesson’s death test: a tester dies at a moving saw and says “I have no idea what killed me.” What does that tell you, and what would you change?
Check your answer
Answer: The death punished without teaching. Make the saw readable: higher contrast, a sound or visual warning, a safe first appearance where it can be seen before it threatens.If a player can say what to do differently, the death taught something; if not, it only punished. - Name the three motivations the lesson says keep players going, and one level feature that feeds each.
Check your answer
Answer: Progress (visible progress such as a map or doors opening), mastery (fair, rising challenge), curiosity (secrets worth finding on side paths).Any fitting features are fine.
Review
Keep earlier skills sharp.
- Review (Lesson 1.1): would you test a level’s intensity pacing with a paper or a digital prototype first? Explain.
Check your answer
Answer: Paper can sketch the sequence and intensity graph cheaply, but how intense a section feels at speed depends on timing and real-time input, so a digital greybox is needed to test it.Choose the cheapest prototype that answers the question.
Two Levels, Tile by Tile: One That Teaches and One That Punishes
SLS original case with two invented levels; ratings are the author’s illustrative judgment · SLS original
Why this reading. The lesson asks you to analyze how a level teaches, paces and guides, and to judge strong and weak design. Rather than rely on a game you happen to know, this reading prints two invented levels tile by tile: one that teaches well and one that does not. Analyze these, then apply the same method to a game of your choice. Both are SLS original.
Level A: Kelp Hollow 1 (invented), teaching the spring pad
The level is 60 tiles long. Intensity is the designer’s 0 to 10 rating of danger and pressure.
| Tiles | What is there | Beat | Intensity |
|---|---|---|---|
| 0-8 | Flat sand, a pearl arc rising toward a pad, no enemies | Introduce: the spring pad is safe to touch | 1 |
| 9-16 | Pad launches the player over a low gap; a pit below has a net | Test: a mistake costs one retry | 3 |
| 17-22 | Quiet ledge, three pearls, a view of the goal tower | Breather and sightline | 1 |
| 23-32 | Pad launches over a gap with one slow urchin on the far ledge | Twist: pad plus enemy | 5 |
| 33-38 | Checkpoint, fountain, pearls | Rest and save | 1 |
| 39-52 | Chain of two pads over urchins and a moving platform | Challenge: everything learned | 8 |
| 53-60 | Goal tower, big pearl arc | Reward | 2 |
Guidance used: a sightline (the tower is visible from tile 17), leading lines (pearl arcs show every landing), gating (a locked gate at tile 58 is visible from tile 45) and a checkpoint before the hardest section. The intensity series 1, 3, 1, 5, 1, 8, 2 is a sawtooth that rises overall. The mean is 21 / 7 = 3.0, but the peaks (3, 5, 8) each exceed the one before, and every peak is followed by a valley.
Level B: Spire Run (invented), a weak level
| Tiles | What is there | Intensity |
|---|---|---|
| 0-10 | Flat ground, no pickups, no goal in sight | 2 |
| 11-14 | Jump between platforms; spikes hidden below the screen edge | 9 |
| 15-40 | Long empty walk back to start after each death; no checkpoint | 2 |
| 41-50 | Three fast urchins, a moving platform and a timer | 9 |
| 51-60 | Two more spikes below the screen edge, then the goal | 9 |
Series: 2, 9, 2, 9, 9. It is not a sawtooth: tiles 41 to 60 have no valley. Problems: a blind jump at tiles 11 to 14 (the danger cannot be seen before committing), a 26-tile walk of about 26 x 32 = 832 px, which at 220 px/s is 3.8 seconds of nothing after every death, and no sightline to the goal. Apply the death test: after dying on tiles 11 to 14 the player cannot say what to do differently, so the death punished and did not teach.
Method to reuse
1. Split the level into beats and label each introduce, test, twist, challenge, rest or reward. 2. Rate intensity 0 to 10. 3. Look for valleys after peaks. 4. List guidance techniques with the tile where each appears. 5. Apply the death test to every hazard.