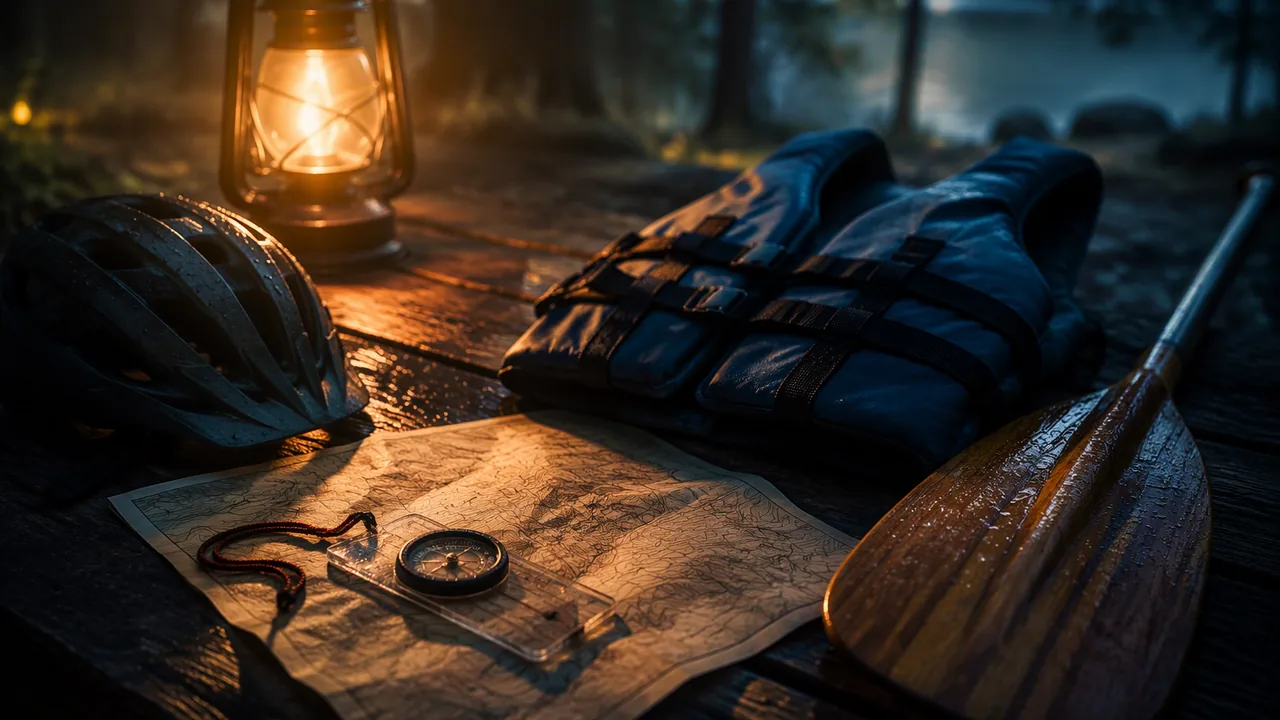
read a map and orient it with a compass, take and follow a bearing, give correct cycling hand signals, check life-jacket fit, and perform the forward, sweep and draw paddle strokes on land, recording and self-checking each skill.
Instruction
Map basics
A trail map is a scaled drawing of the ground. Four features matter most. The scale tells you how map distance relates to real distance (for example, 1 inch = 0.5 mile). The legend explains the symbols: trail types, parking, water, shelters. Contour lines connect points of equal elevation; lines packed close together mean a steep slope, lines far apart mean gentle ground. North is usually the top of the map, marked by an arrow. Before you walk, orient the map: turn it until the features on it line up with the features around you, so that “ahead” on the map is ahead on the ground.
Compass basics
A baseplate compass has a magnetic needle (the red end points to magnetic north), a rotating housing with degree markings and an orienting arrow, and a direction-of-travel arrow on the baseplate. To follow a bearing, (1) turn the housing until the bearing you want (say 90°, due east) lines up with the direction-of-travel arrow; (2) hold the compass flat at your waist; (3) turn your whole body until the red needle sits inside the orienting arrow — “red in the shed”; (4) look up along the direction-of-travel arrow, pick a landmark and walk to it. To measure distance without a GPS, use a pace count: walk a measured 100 feet (or 100 meters) and count how many times your left foot touches down. If it is 20, then 100 left steps is about 500 feet. Phone apps help, but batteries die and signals drop in Missouri’s river valleys, so a paper map and the ability to read it are part of being prepared.
Cycling hand signals
Missouri law treats bicycles as vehicles and requires riders to signal turns and stops (RSMo 307.192, which follows the hand signals of RSMo 304.019), though a rider may use both hands to control the bike when needed. The signals are given with the left arm, held clearly out from the body:
| Signal | Arm position |
|---|---|
| Left turn | Left arm straight out to the side |
| Right turn | Left arm out, elbow bent, hand pointing up (many riders also point the right arm straight out) |
| Stop or slow | Left arm out, elbow bent, hand pointing down |
Signal about 100 feet before the turn, return both hands to the bars to make it, and look over your shoulder before moving left. Ride on the right, single file, with a properly fitted helmet: level on the head, about two fingers above the eyebrows, straps forming a V under each ear, buckle snug enough that only one or two fingers fit under it.
Life-jacket fit
A life jacket only works if it fits. The Missouri State Highway Patrol warns that the most common mistake with young people is a jacket that is too big; a loose jacket can ride up and fail to keep the head above water. A fit check takes one minute: (1) find the U.S. Coast Guard approval and the size range on the label; (2) put it on, zip and buckle every strap; (3) tighten from the bottom strap up until it is snug; (4) have an adult lift it by the shoulders — it should not slide up past your chin or ears; (5) raise your arms over your head; the jacket should stay in place. You will practice this at home on dry land; do not test it in water without a lifeguard or adult in the water with you.
Paddle strokes on land
Paddle strokes are learned best on dry ground first. Sit on the floor or a low stool with your legs out and hold a broom handle or paddle with hands about shoulder-width-plus apart. Forward stroke: rotate your torso and reach the blade forward near your feet (the catch), pull it back alongside the hip by unwinding the torso rather than bending the arms (the power phase), and lift it out at the hip (the exit). Sweep stroke (to turn): a wide arc from the front of the boat to the back on one side. Draw stroke (to move sideways): reach straight out to the side and pull the blade toward the hip. The critical element in all three is torso rotation: the big muscles of the trunk do the work, which protects the shoulders.
Formative check
Work through these before moving on. They are not graded — they tell you whether the standard below has landed yet.
A cyclist holds her left arm out to the side with the elbow bent and the hand pointing down. What is she signaling?
On a trail map, the contour lines on the east side of a ridge are packed very close together and those on the west side are far apart. Which way down is easier?
To follow a bearing, turn your body until the red needle sits inside the orienting arrow, a rule remembered as “red in the .”
Record yourself (video kept private) doing the three cycling hand signals, a life-jacket fit check from label to arms-up test, and ten forward strokes plus five sweeps and five draws on land. Mark each skill against its critical elements, name one error you found and show the correction. Then report your pace count for 100 feet and use it to estimate how many left steps a quarter mile (1,320 ft) would take.
How confident are you that you can read a map, follow a compass bearing, signal on a bike, check a life jacket’s fit and perform basic paddle strokes correctly?
Practice
Work these on paper or in your notebook, then open Check your answer. Aim for all of Fluency and Application; try at least one Challenge.
Printable version: this unit’s practice workbook (PDF)
Fluency
Build speed and accuracy with the core skill.
- Name the four most important map features and what each tells you.
Check your answer
Answer: Scale (how map distance relates to real distance); legend (what the symbols mean); contour lines (points of equal elevation; close lines are steep, far-apart lines are gentle); north arrow (direction, usually the top of the map).Orient the map so features line up with the ground before you walk. - Describe the arm position for each cycling hand signal: left turn, right turn, stop or slow.
Check your answer
Answer: Left turn: left arm straight out to the side. Right turn: left arm out, elbow bent, hand pointing up (many riders also point the right arm straight out). Stop or slow: left arm out, elbow bent, hand pointing down.Missouri law treats bicycles as vehicles and requires signals (RSMo 307.192, following RSMo 304.019). - A bearing is measured in degrees clockwise from north. Which direction is each bearing: 90°, 180°, 270°?
Check your answer
Answer: 90° is east, 180° is south, 270° is west.0° (or 360°) is north; each quarter turn clockwise adds 90°.
Application
Use the skill in context. Show your reasoning.
- A trail map’s scale is 1 inch = 0.5 mile. A route measures 3.5 inches on the map. (a) How long is it on the ground? (b) At 20 minutes per mile, how long will it take?
Check your answer
Answer: (a) 1.75 miles; (b) 35 minutes.3.5 × 0.5 = 1.75 miles. 1.75 × 20 = 35 minutes. - An example student’s pace count is 22 left-foot steps per 100 feet. About how many left steps will a half mile (2,640 feet) take?
Check your answer
Answer: About 581 left steps.2,640 ÷ 100 = 26.4 hundreds of feet; 26.4 × 22 = 580.8 ≈ 581. - List the four steps to follow a compass bearing.
Check your answer
Answer: (1) Turn the housing until the bearing lines up with the direction-of-travel arrow; (2) hold the compass flat at your waist; (3) turn your whole body until the red needle sits inside the orienting arrow (“red in the shed”); (4) look up along the direction-of-travel arrow, pick a landmark and walk to it.Phone batteries die and signals drop in river valleys, so paper skills are part of being prepared. - Describe the five-step life-jacket fit check and the most common fit mistake with young people.
Check your answer
Answer: (1) Find the U.S. Coast Guard approval and size range on the label; (2) put it on, zip and buckle every strap; (3) tighten from the bottom strap up until snug; (4) have an adult lift it by the shoulders: it should not slide past your chin or ears; (5) raise your arms overhead: it should stay in place. Most common mistake: a jacket that is too big, which can ride up and fail to keep the head above water.Practice on dry land; never test in water without a lifeguard or adult in the water with you.
Challenge
Stretch problems. Expect to think before you write.
- An example paddler’s video shows her bending her arms to pull the paddle back while her trunk stays still. Name the critical element she is missing, why it matters, and how a correct forward stroke goes.
Check your answer
Answer: Torso rotation: the big trunk muscles should do the work, which protects the shoulders. Correct stroke: rotate the torso and reach the blade forward near the feet (catch), pull it back alongside the hip by unwinding the torso rather than bending the arms (power phase), and lift it out at the hip (exit).Torso rotation is the critical element of the forward, sweep and draw strokes.
Review
Keep earlier skills sharp.
- Review (Lesson 2.2): describe how to check that a bike helmet fits.
Check your answer
Answer: Level on the head, about two fingers above the eyebrows; straps forming a V under each ear; buckle snug enough that only one or two fingers fit under it.A properly fitted helmet is on the trail-day materials list for any bike ride.